Laser Cut Wood Wall Art: 15 Ideas From Simple to Layered
Wall art is the most forgiving laser project there is: no moving parts, no fit tolerances, no food-safe finishes. If the design is good, a flat sheet of plywood becomes something people hang in their living room — and pay real money for. Here are 15 ideas, sorted from beginner to advanced, with honest notes on what each one demands.
Single-layer silhouettes (start here)
1. Botanical silhouettes. Ferns, eucalyptus branches, monstera leaves. One sheet, one cut, endlessly elegant. 3mm plywood, light stain or bare wood.
2. Animal silhouettes. A stag head, a fox, flying birds. Works best oversized — a 60cm deer reads “gallery,” a 15cm one reads “fridge magnet.”
Two for a nursery wall
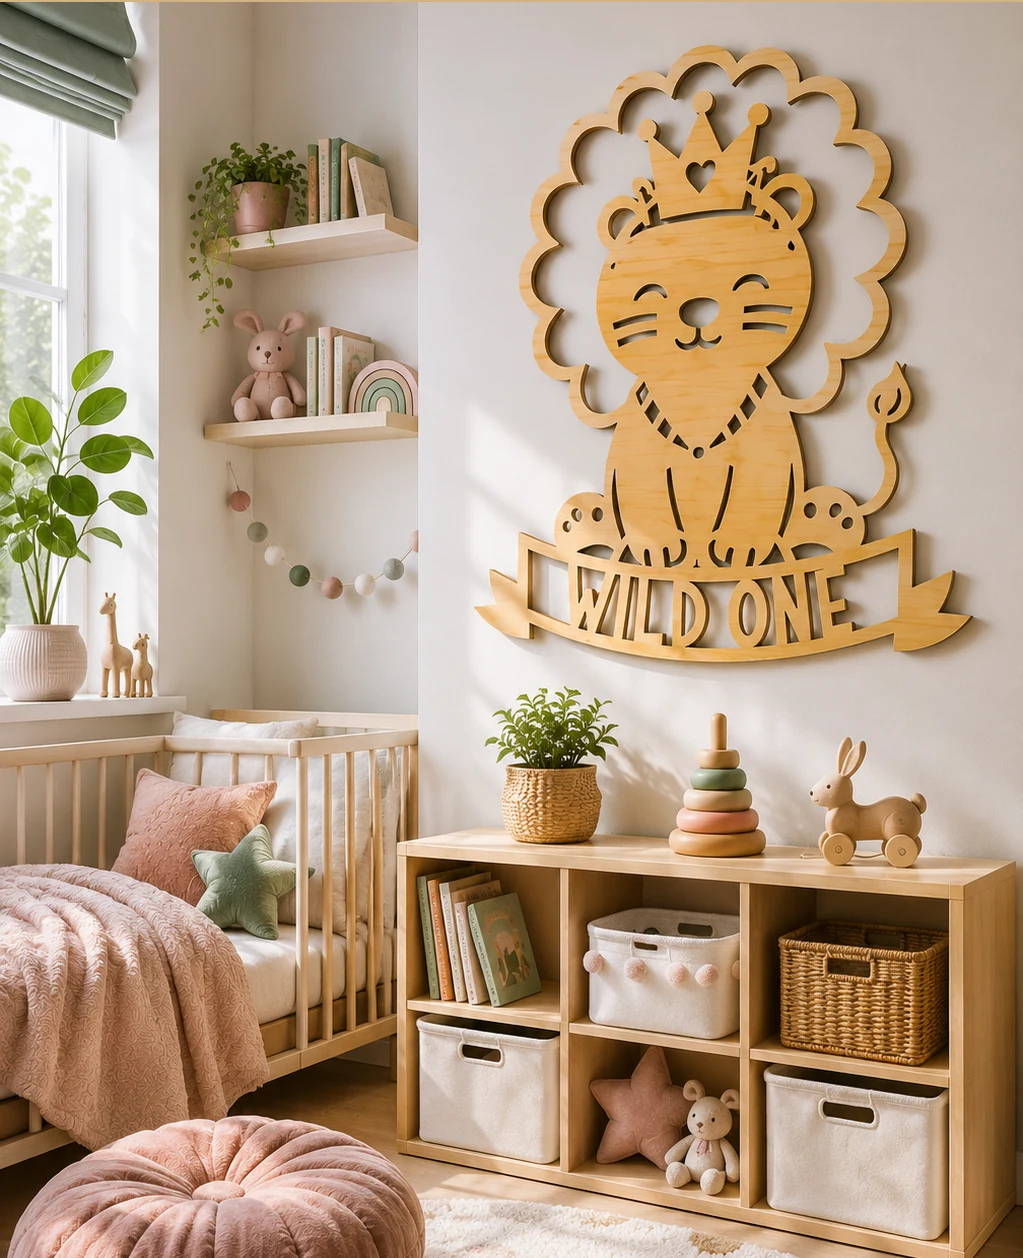
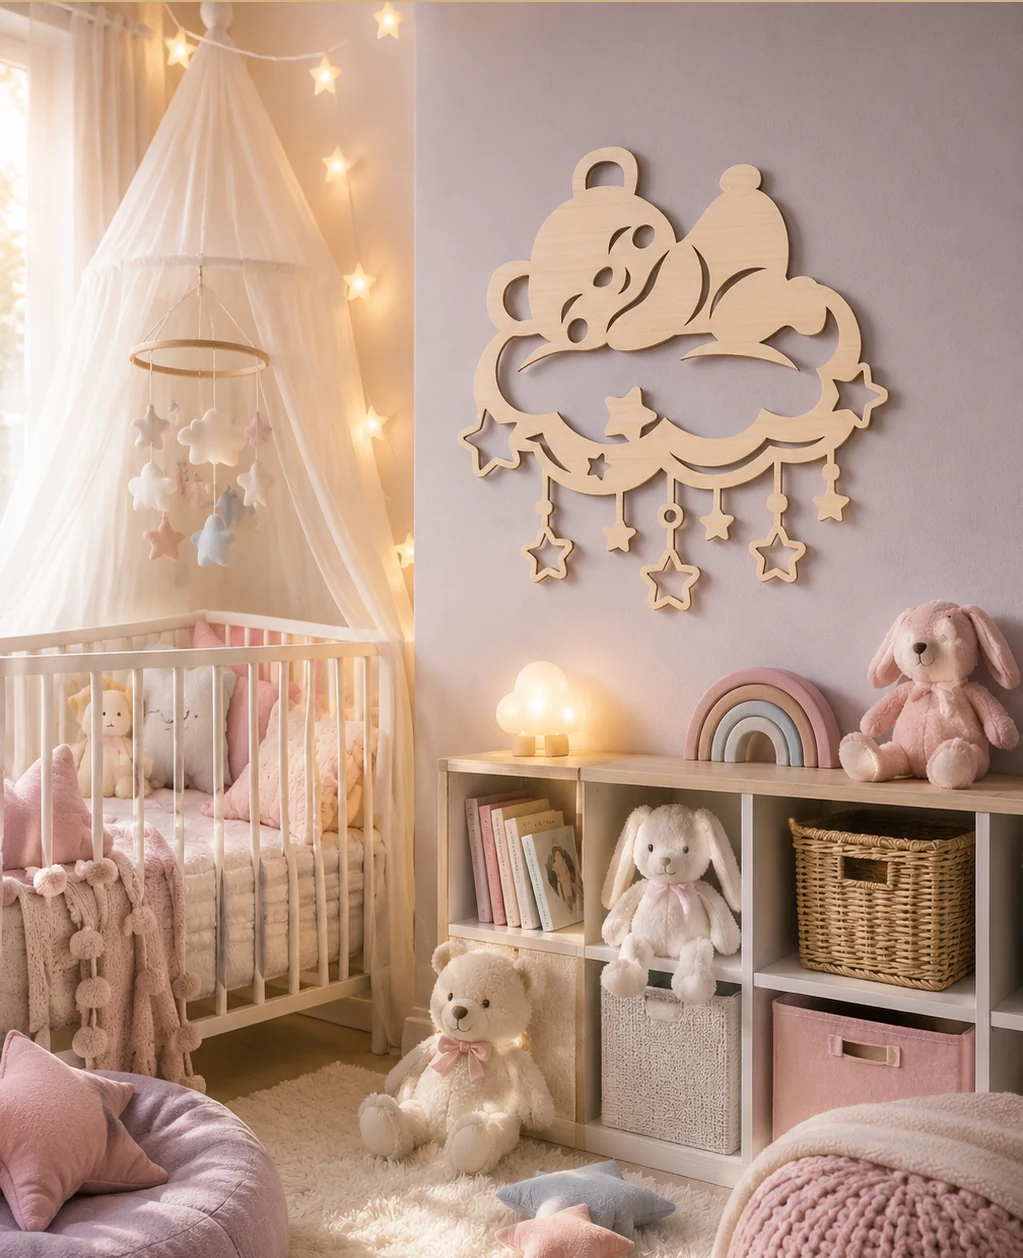
A children’s room is where the oversize rule pays off fastest. The lion is one cut: mane, crown and the WILD ONE banner all hang together as a single piece, so there is no layering and no registration to get wrong. The bear is the quieter version of the same idea, a sleeping animal on a cloud with stars dangling below it on short threads.
Both come from the same nursery wall set, and both look best in bare birch against a pale wall. Sand the inner edges before hanging: on a cut this open, every fuzzy edge is at eye level.
3. Skyline panels. City skylines cut as a long horizontal strip. Good gift angle: the city someone is from, or the one they moved to.
4. Geometric line art. Single-line faces, minimalist mountains, abstract waves. The design carries everything; the cut is trivial.
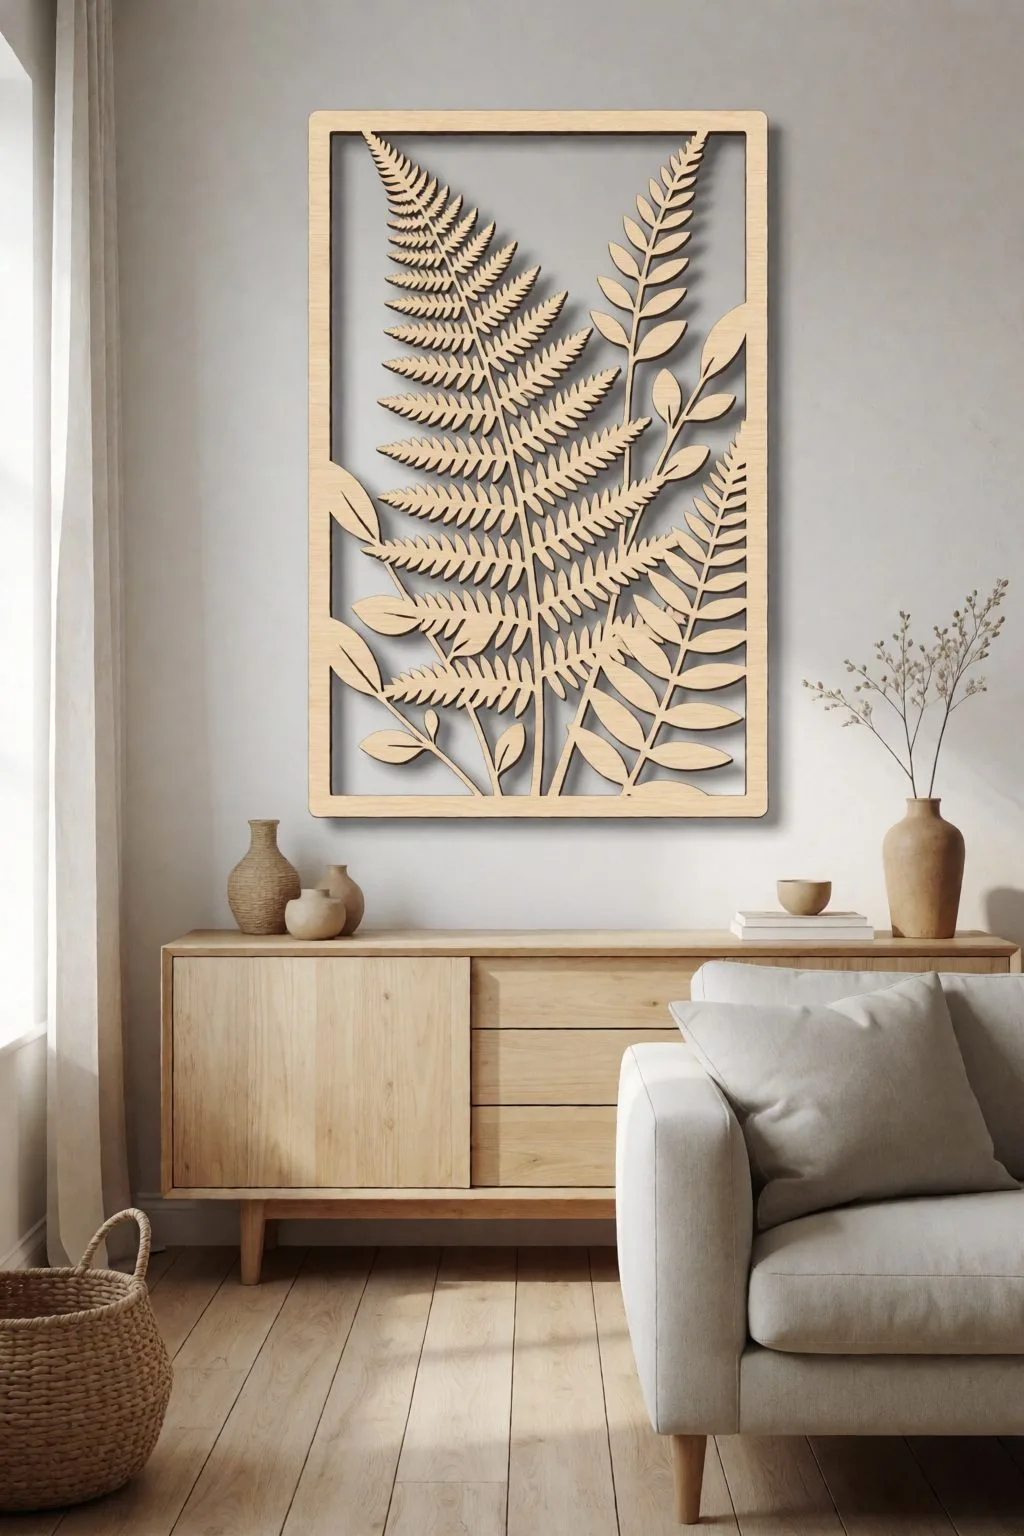
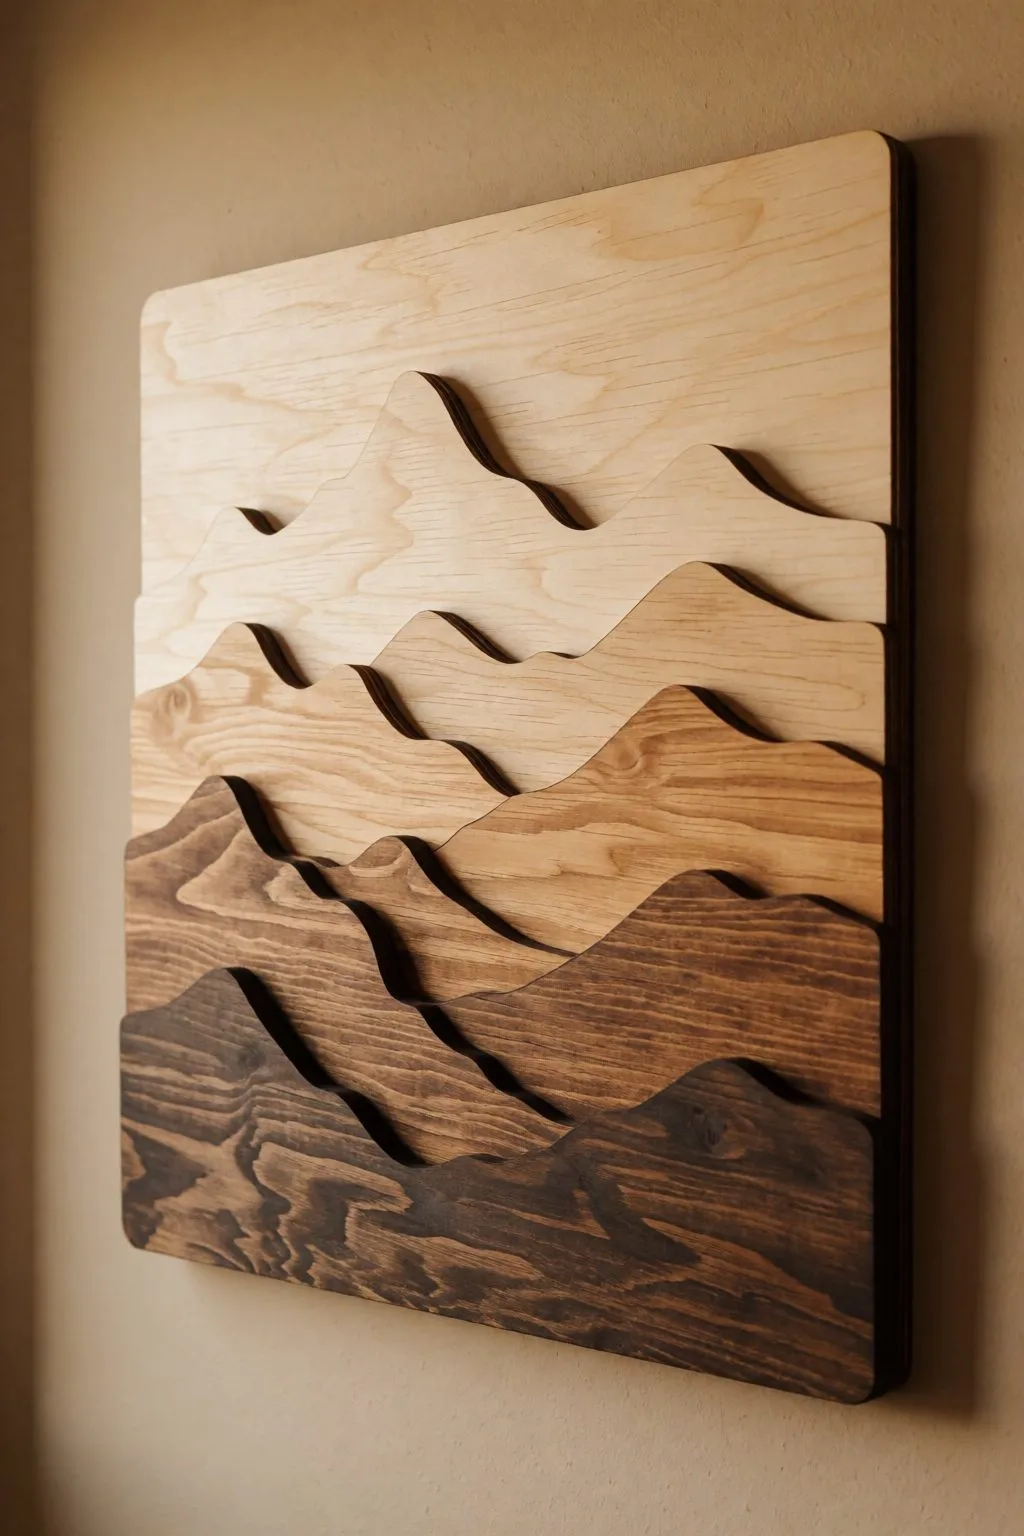
Geometric and pattern pieces
5. Mandala panels. A single-layer mandala is already striking; stain it dark against a light wall.
6. Honeycomb sets. 5–9 hexagons in varying sizes, hung as a cluster. Buyers love arranging them.
7. Moroccan lattice panels. Repeating patterns cut through the full sheet — hang with standoff spacing from the wall so shadows double the pattern.
8. Wood + epoxy inlay. Cut a pattern, fill with tinted epoxy, sand flush. More workshop time, roughly double the price.
Layered depth (where margins live)
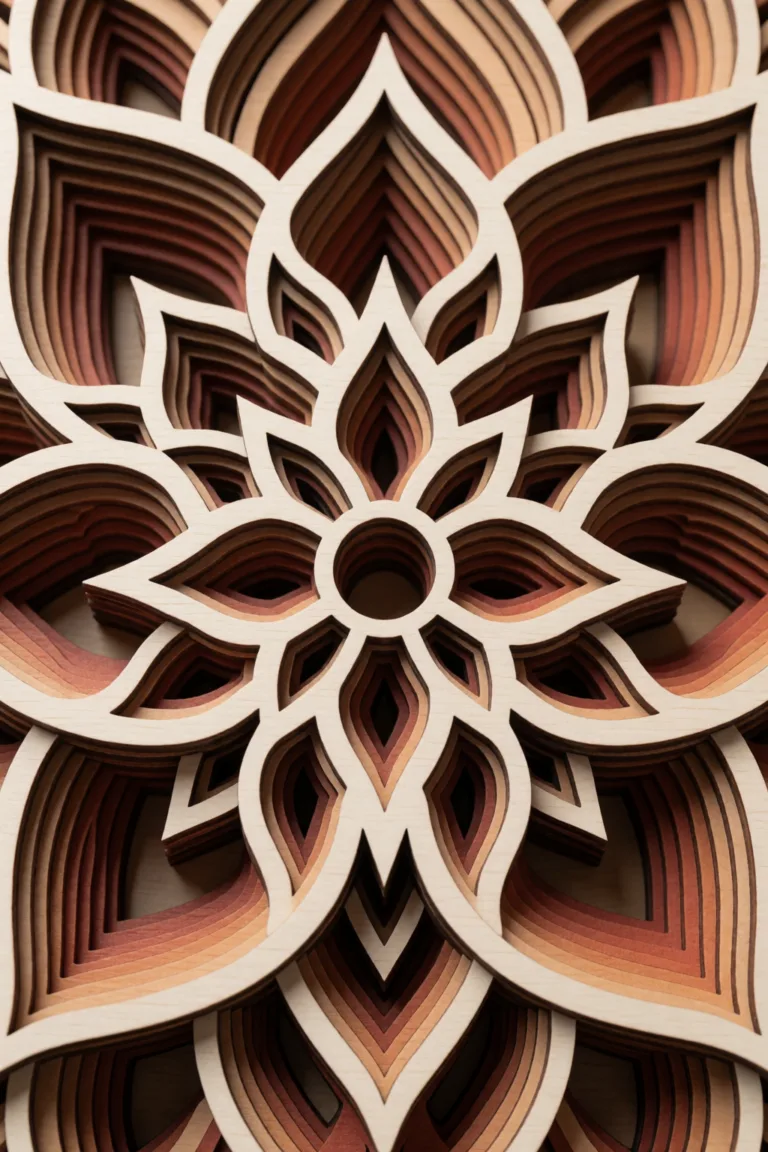
9. 3D layered mandalas. 5–8 stacked layers with spacers — the flagship of layered crafts. We have a full beginner guide to layered mandalas.
10. Layered landscape scenes. Mountains, forests, lakes in 4–6 depth planes. Stain each layer progressively lighter for atmospheric depth.
Landscapes you paint yourself
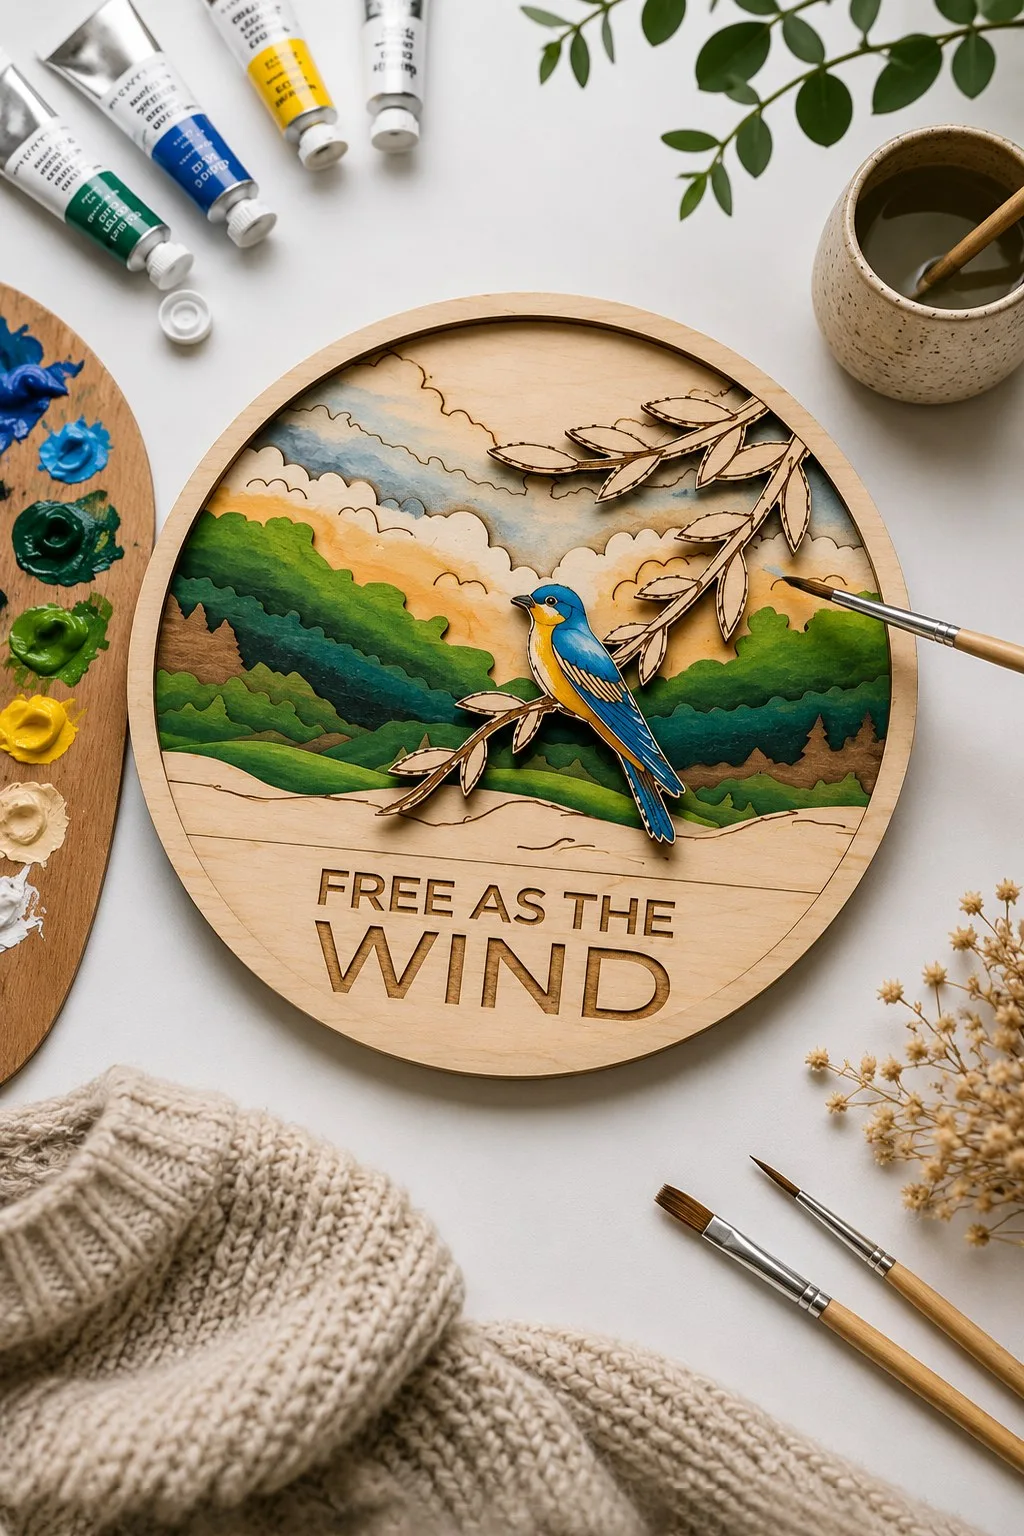
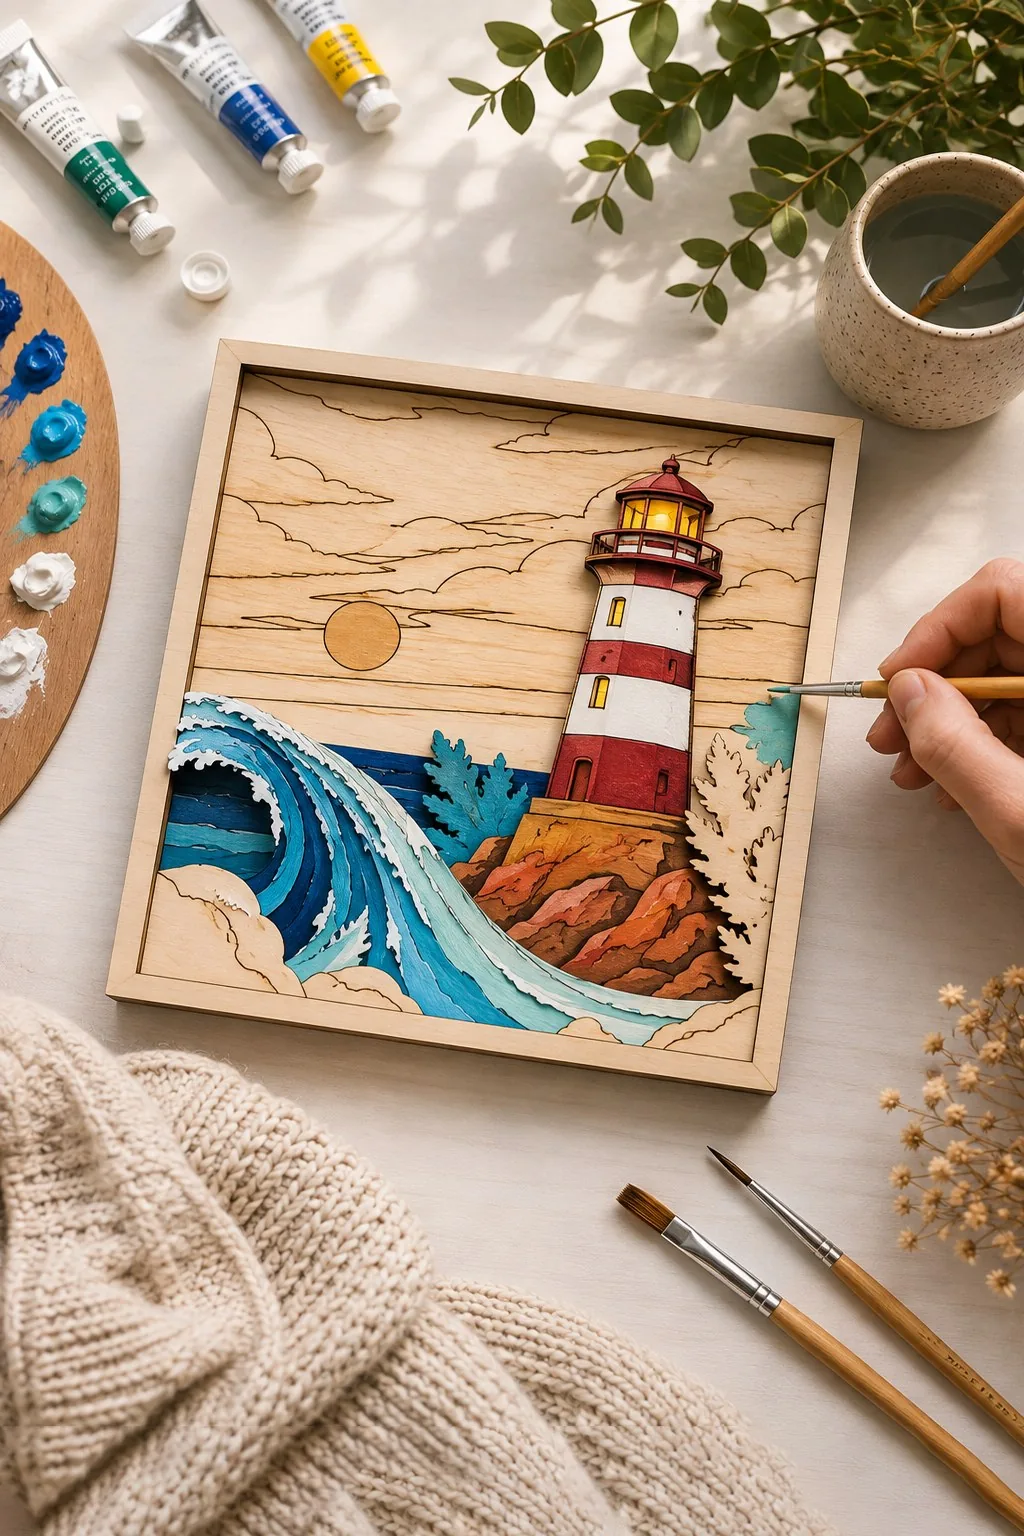
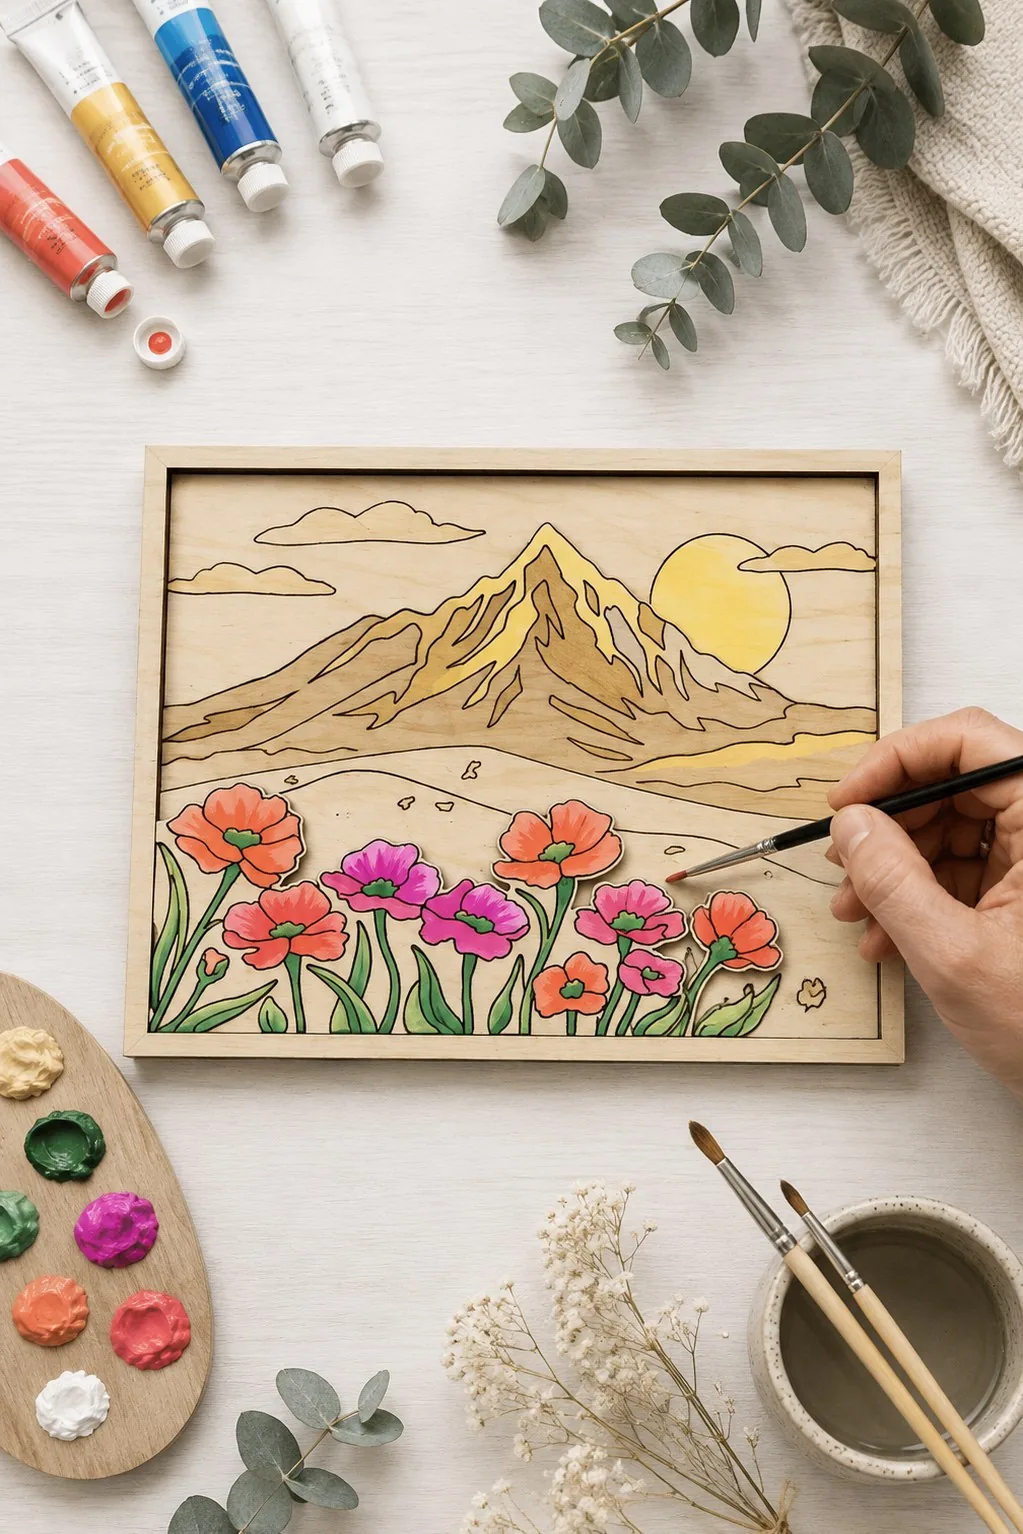
The paint-it-yourself version of idea 10. A bundle of ten layered panels from one maker, each a landscape stacked in several planes: mountains, a forest along the ridge, clouds and a road in the round one, a lighthouse on a rock above curling waves in another, a sunny peak over a field of poppies in the third. On the round panel a branch with a blue bird is laid over the top and breaks out of the frame, so the picture stops being just a circle, and a separate plaque underneath carries the engraved words FREE AS THE WIND.
Here painting is the point, not the finish. Every layer is its own piece, so the colour stops exactly where the cut stops and the brush never has to find an edge. Sell it assembled, or cut it and sell it as a kit to be painted, which works as a present and for kids’ workshops. The files come as SVG, DXF, EPS, PDF, JPEG and PNG, but the maker gives no thickness, and there are a lot of layers, so choose your sheet and test the stack before cutting the whole set.
11. Topographic lake maps. Contour layers of a real lake — lake-house owners buy these on emotion, $60–200. Get bathymetric data from public map services.
12. Lighted shadow boxes. Layers + LED = the piece that stops everyone. Full lighted shadow box tutorial here.
Statement pieces
13. Oversized single words in script — “gather,” family names, “home.” Yes, they’re everywhere; they’re everywhere because they sell.
14. Split-flap style multi-panel art. One image across 3–5 separate panels with gaps between.
15. Backlit acrylic + wood combos. Wood frame, engraved acrylic front, LED behind — night-light meets wall art.
The same panel, light or dark
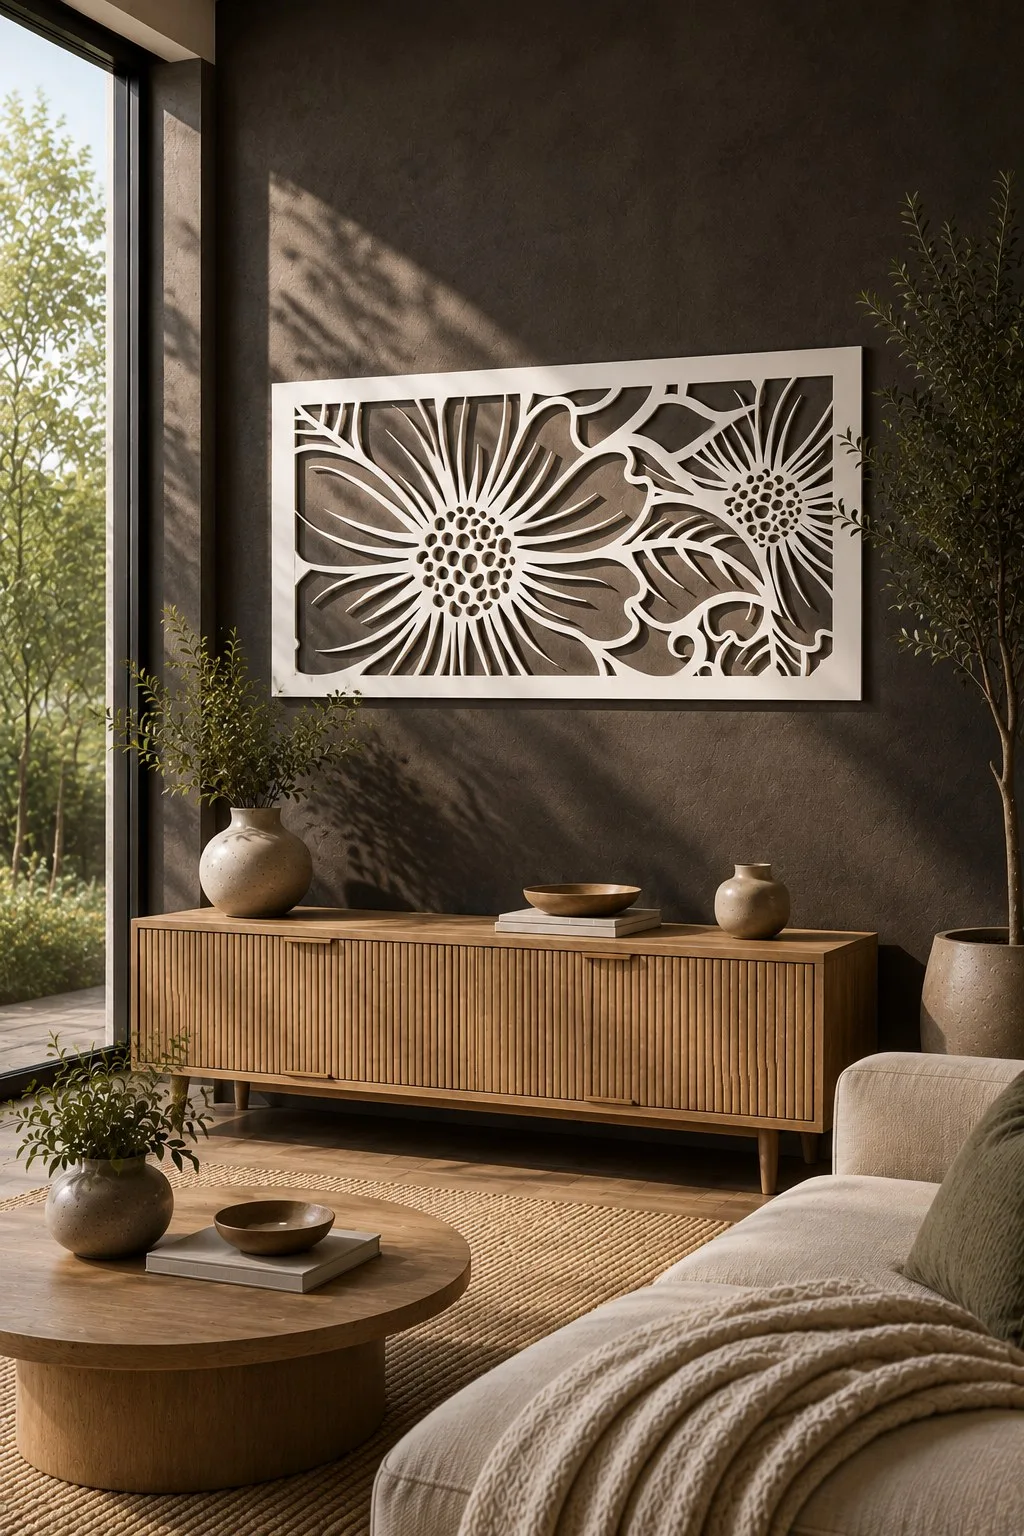
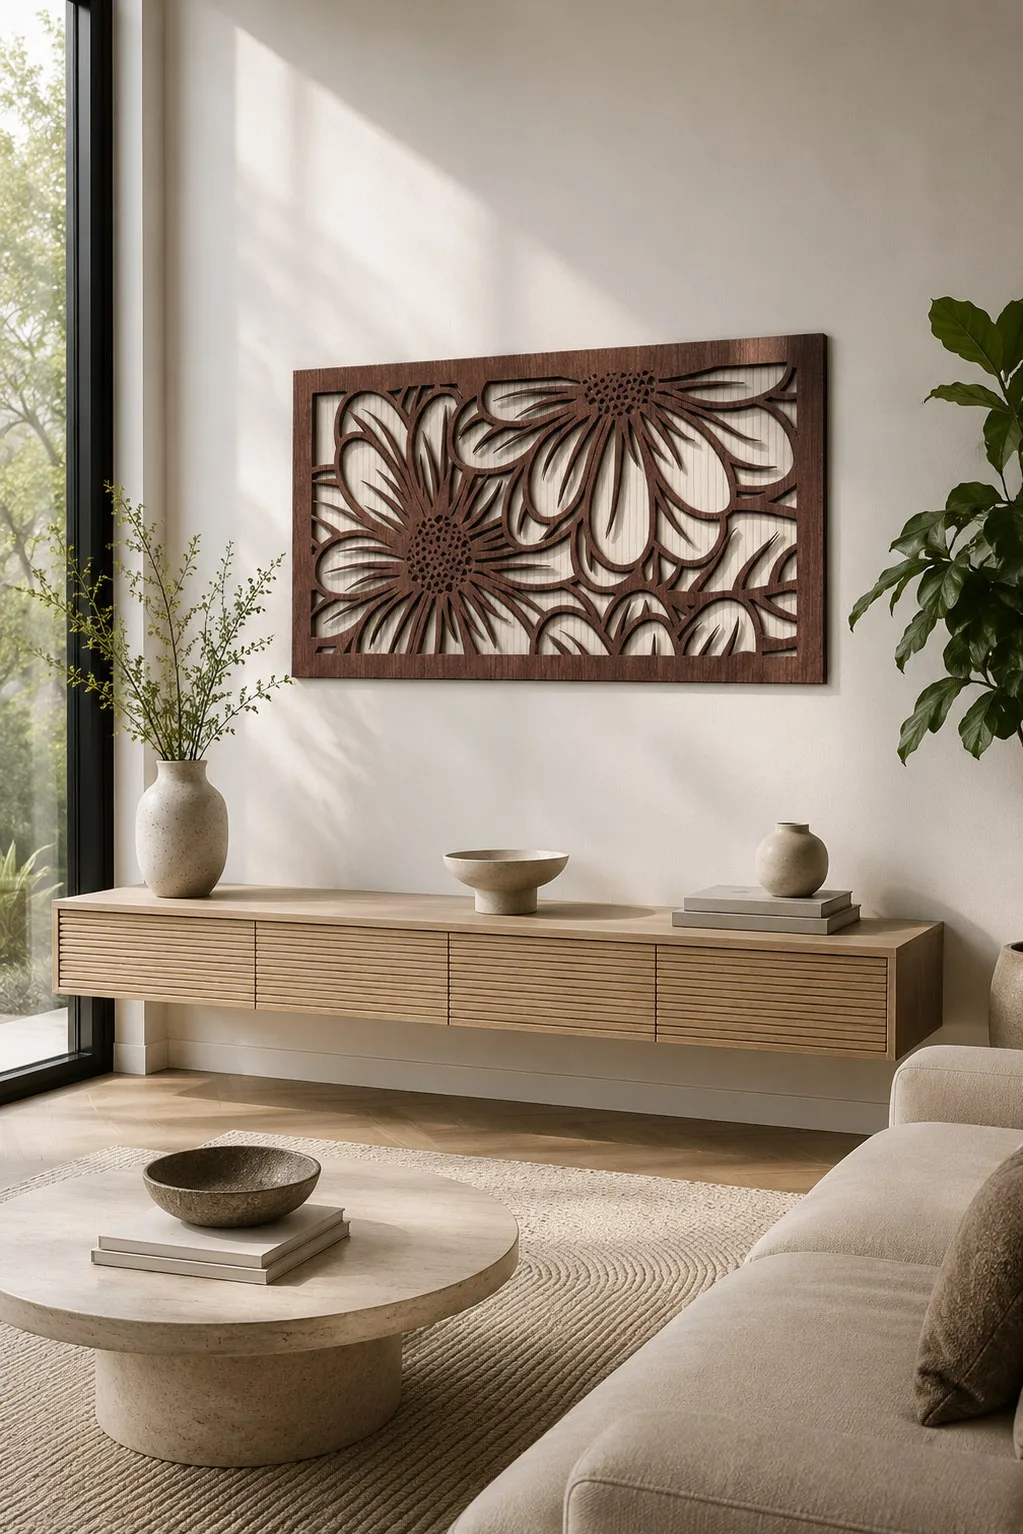
One file, two rooms. The flowers are cut clean through in both, so what you actually see through the petals is the wall — and that makes the wall the second layer of the design, not the background.
Painted white against a dark wall, the panel reads as a bright outline and the cut-outs go almost black. In walnut against a pale wall it flips: the petals stay dark and the openings fill with the light coming off the plaster. Same drawing, opposite effect, and neither version needs a frame or glass.
So pick the finish from the wall, not from the furniture. A dark panel on a dark wall loses the whole point of cutting it through, and that is the mistake worth avoiding before you spend a full sheet.
Both hang flat on two keyholes and sit close to the plaster, which is why they work above a low sideboard where a framed picture would stick out.
Material quick guide
- 3mm birch plywood — the workhorse: clean edge, takes stain, cheap.
- MDF — cheapest, cuts beautifully, but edges drink paint and it hates moisture.
- Walnut / oak veneer ply — for premium pieces; the grain does half the design work.
- Acrylic — for backlit and modern pieces; buy cast, not extruded, for clean engraving.
Sizing rule of thumb
Whatever size you sketch first — make it 30% bigger. Undersized wall art is the most common beginner mistake: a beautiful 20cm piece disappears on a real wall. Standard sweet spots: 30–40cm for shelf art, 50–70cm for a statement wall piece.
Where to find designs
Marketplaces like Creative Fabrica and Design Bundles have large laser-ready wall art categories (check each file’s commercial license if you plan to sell finished pieces). And if you’re deciding what’s worth making to sell, wall art sits in the high-margin, low-competition corner of the craft-fair table.
FAQ (schema-ready)
What wood is best for laser cut wall art? 3mm birch plywood for most pieces: clean cuts, affordable, takes stain well. Use walnut or oak veneer plywood for premium pieces where the grain adds value.
What size should laser cut wall art be? Bigger than feels natural: 30–40cm for shelf pieces, 50–70cm for wall statements. Undersized art is the most common beginner mistake.
Can I make layered wall art without a laser? Yes — the paper/cardstock versions of layered mandalas and landscapes cut fine on a Cricut or Silhouette. Same SVG files, different material.
Can’t find the design you need?
Describe your idea in a few words and generate your own SVG design with AI.
Good to know: the files in this guide are hosted on Creative Fabrica. Downloading is free with their free trial: a payment card is needed to start it, and you can cancel the subscription at any time.