3D Layered Mandala SVG: A Complete Beginner Guide (Cricut & Laser)
A layered mandala is the project that makes people ask “wait, you MADE that?” — and it’s far easier than it looks. If you can cut an SVG and use glue, you can build one this weekend. This guide walks through the whole process: picking a file that won’t frustrate you, cutting, stacking, and finishing.
What exactly is a 3D layered SVG?
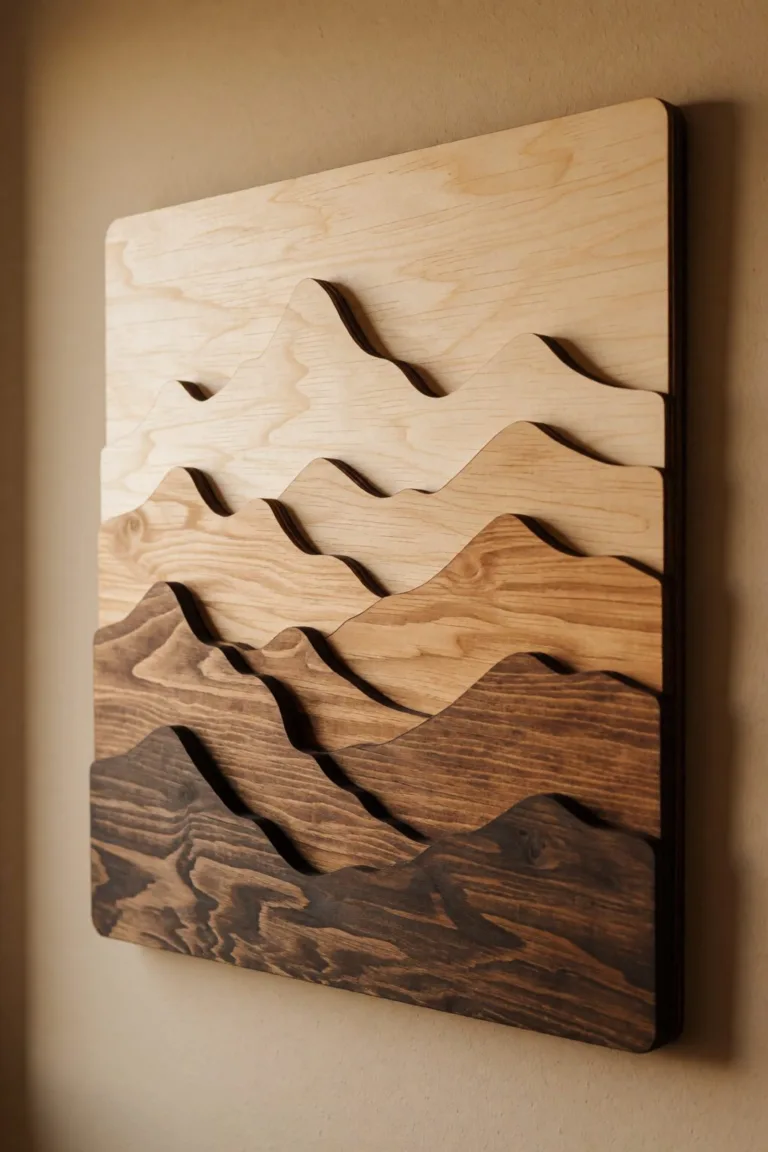
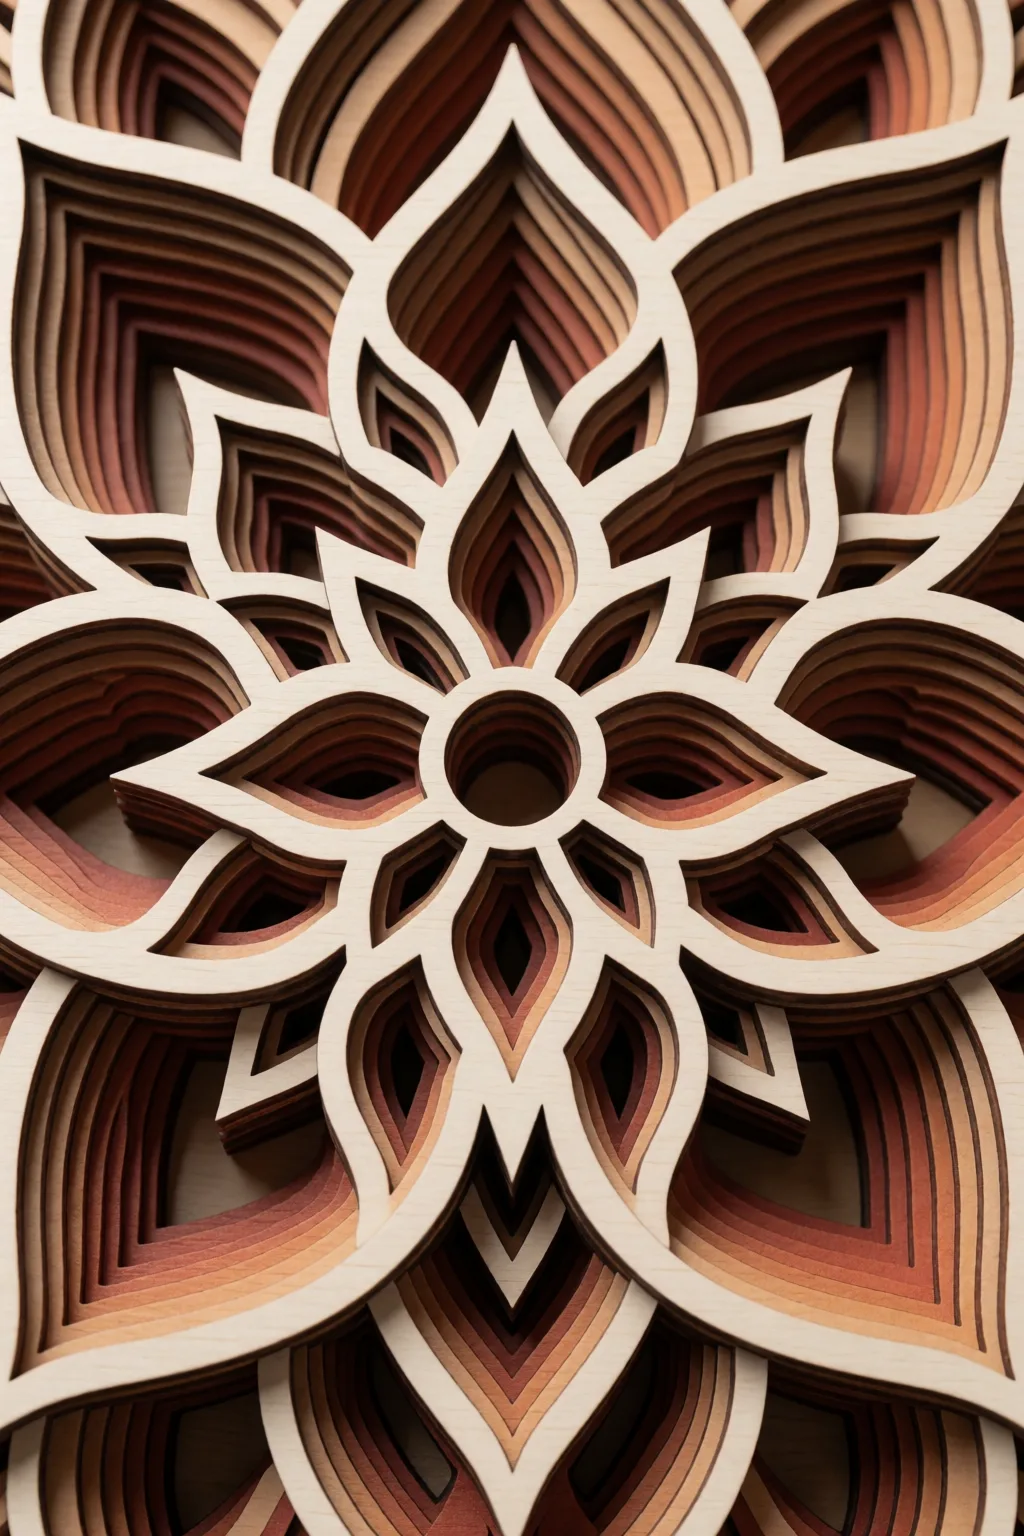
A layered SVG is one design split into 4–12 separate outline files. You cut each layer from paper, cardstock, or thin wood, then stack them with small spacers in between. The gaps create real shadows — that’s where the “3D” depth comes from. No shading tricks, just physics.
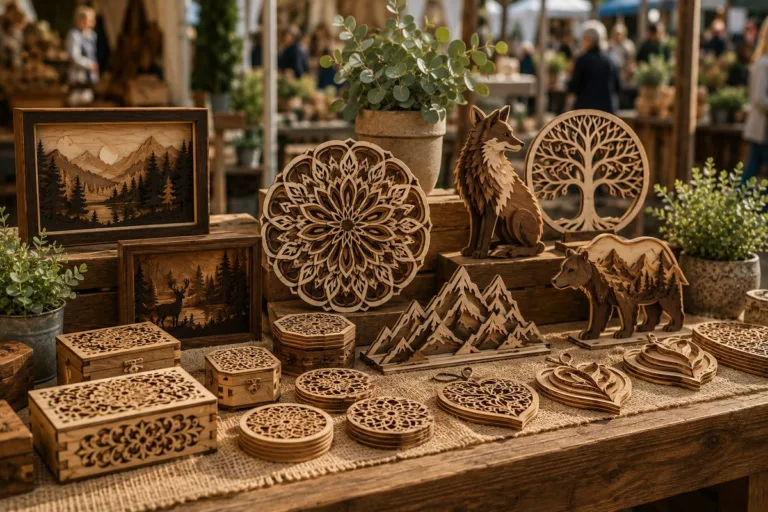
Mandalas are the perfect first layered project: they’re symmetrical (small alignment errors are invisible), forgiving, and they sell well if you later want to turn this hobby into money.
Choosing your first file (this decides 80% of your experience)
Beginner rules:
- 4–6 layers, not 10+. Depth reads clearly from 5 layers; frustration scales with 12.
- Chunky details, not hairlines. Thin bridges tear on paper and burn on laser.
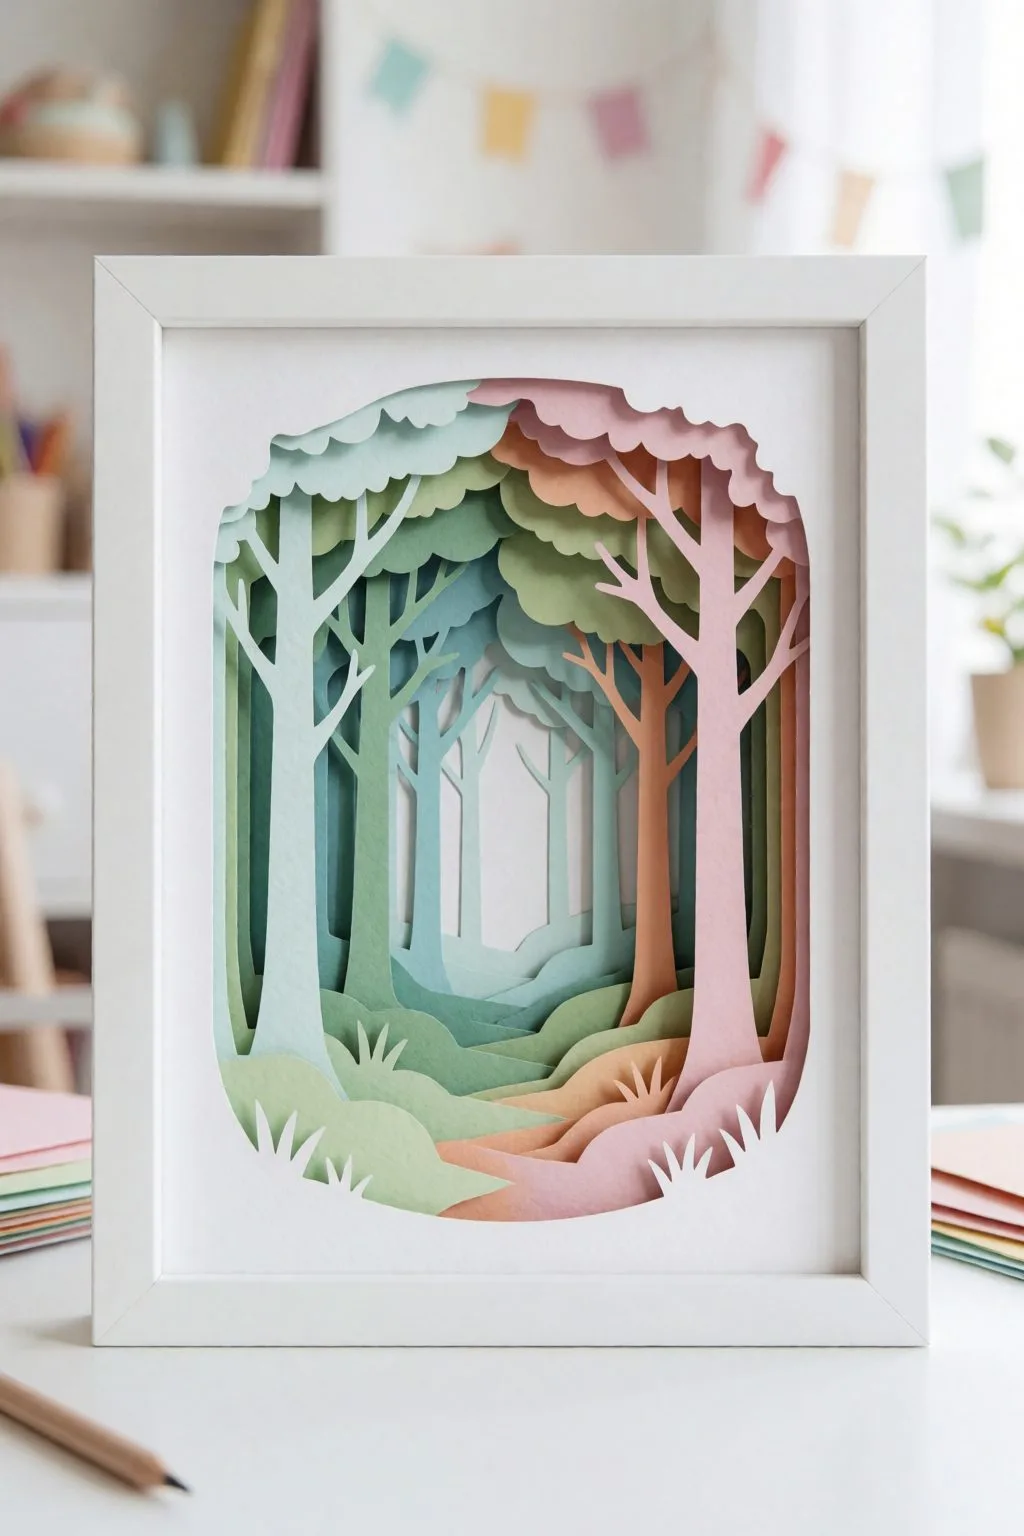
- Check what’s included: you want separate files per layer (SVG), a preview of the stack order, and a recommended size.
Where to look: Creative Fabrica has the deepest layered catalog we’ve found — the subscription includes unlimited downloads, so you can test several designs without buying each one (useful while you’re learning what you like). Design Bundles sells strong one-off layered bundles.
Materials
Paper version (Cricut/Silhouette or any cutting machine):
- Cardstock 200–230 gsm (65–80 lb) — heavier warps less
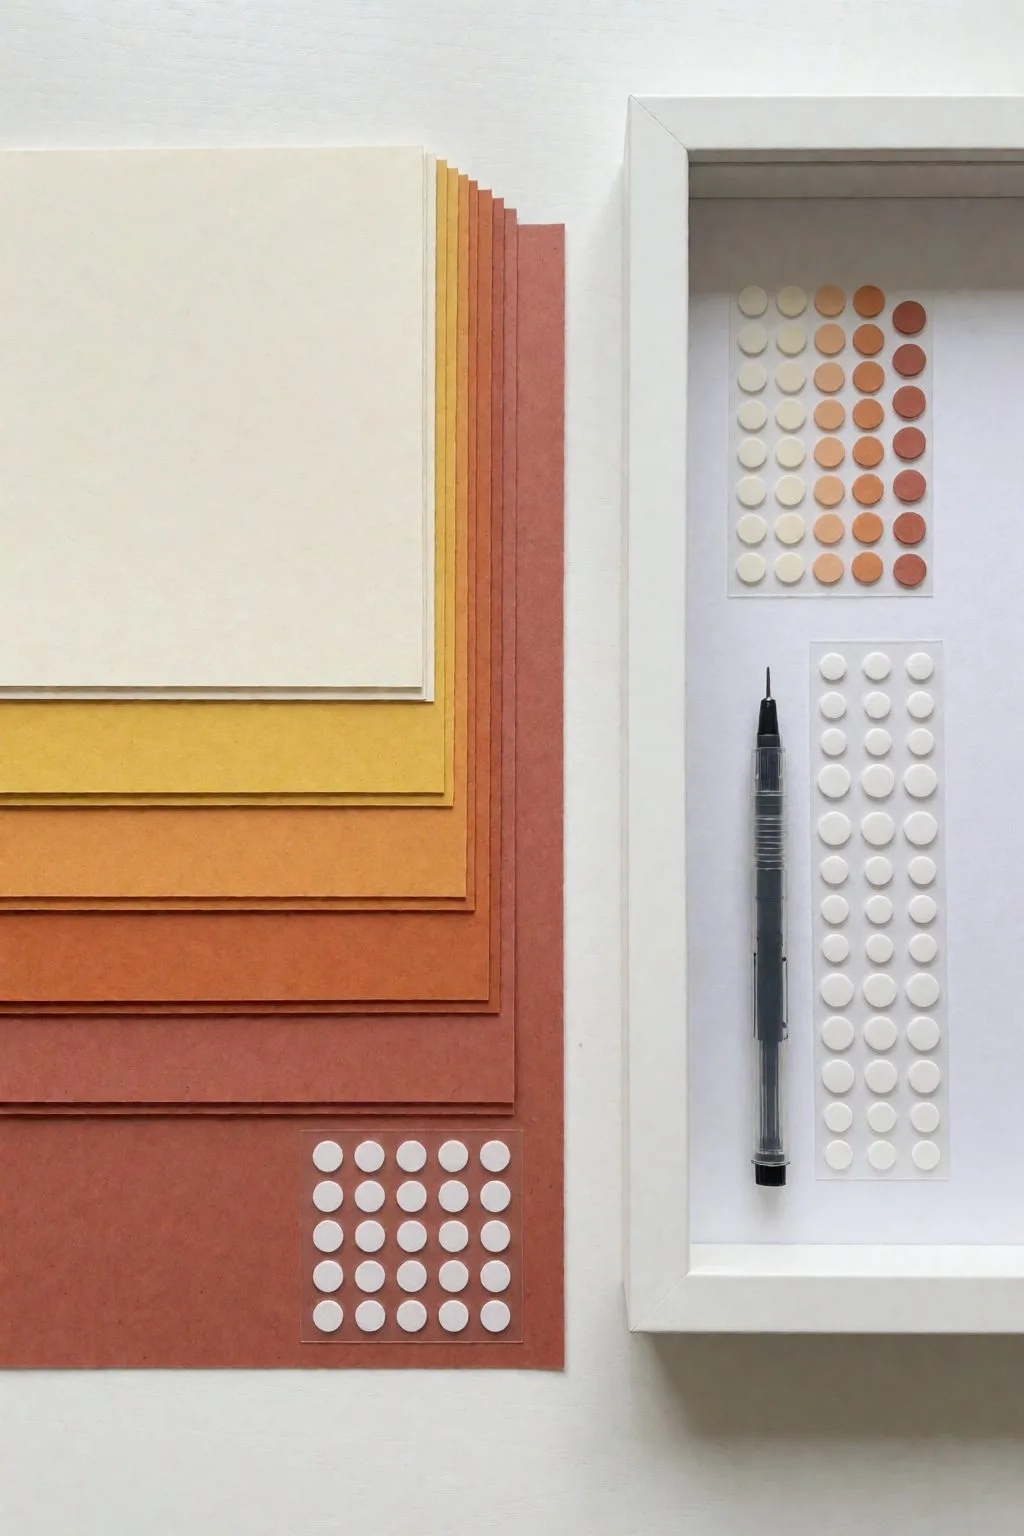
- Foam spacers 2–3 mm or stacked glue dots
- Tacky glue or a fine-tip glue pen (school glue soaks and wrinkles)
- A deep frame (shadow box frame) at least 2 cm / ¾” deep
Wood version (laser):
- 3 mm plywood or MDF for the back 2–3 layers
- 1.5–3 mm for upper layers
- Wood glue, small clamps or weight
- Optional: stain each layer a different tone before assembly — gradient mandalas photograph beautifully
Cutting: the layer-order trap
Every layered file numbers its layers — layer 1 is usually the TOP (most detailed), the highest number is the back plate. Cut them all, then lay them out in a row before any glue touches anything. You’re checking two things: nothing’s missing, and the stack order makes visual sense (details on top, solid shape at the back).
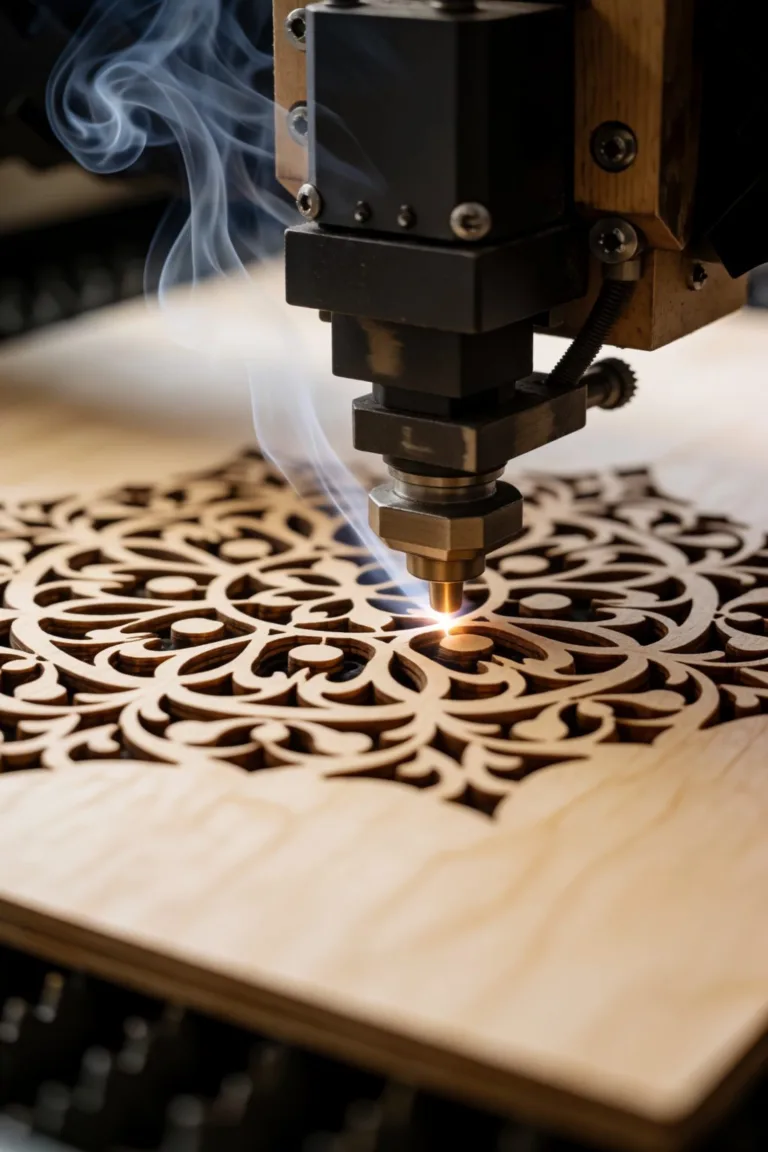
With a Cricut, cut heavier cardstock with the “cardstock — intricate” setting and a fresh fine-point blade; dull blades are the #1 cause of torn mandala bridges. On a laser, run a small test cut per material sheet — cardstock kerf is tiny, but plywood kerf can eat thin details.
Assembly: spacing is the whole art
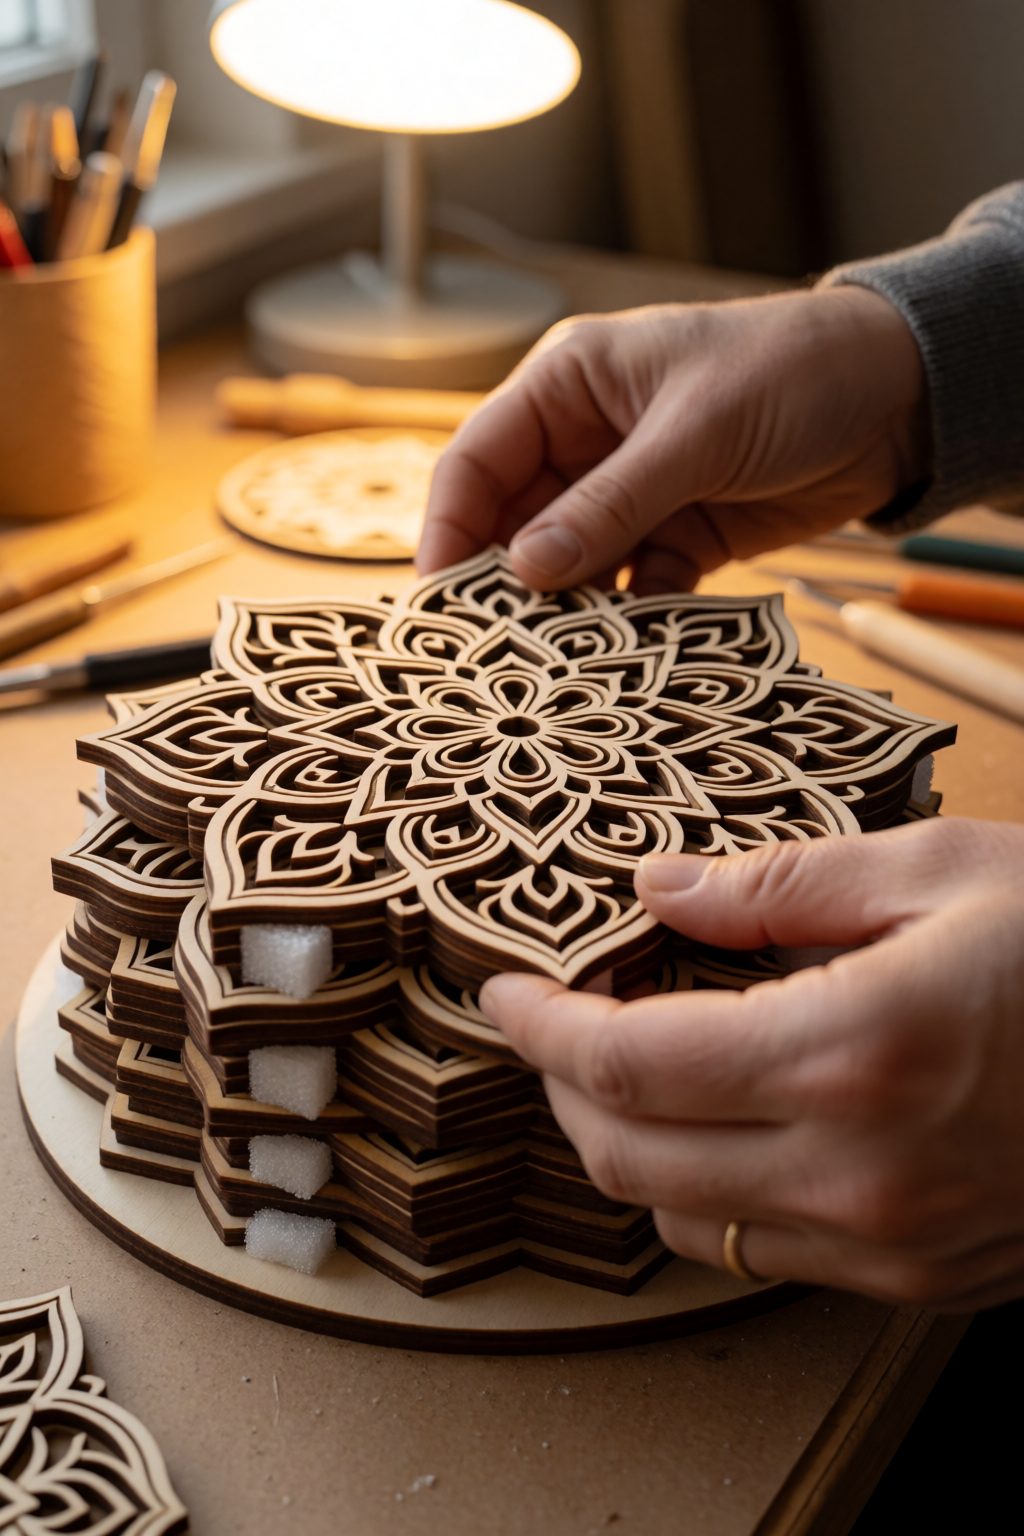
- Start from the back plate and work up.
- Put spacers where the next layer has solid area — never under an open cutout, or the spacer shows.
- 3–4 spacer points per layer is enough for paper; wood layers can take a thin glue ring.
- Use the design’s symmetry: rotate each layer until the pattern locks visually, then commit.
- Press each layer gently for 10 seconds; don’t slide it after contact (glue strings).
The mistake everyone makes once: gluing layers flat together without spacers “just to see.” Without gaps there are no shadows, and without shadows it’s just a busy sticker. The air is the design.
Finishing and framing
A deep shadow-box frame turns a craft into wall art — and doubles the perceived price. White frame + white-to-color gradient layers is the classic look. If you want the premium version, add warm LED backlighting — that turns a mandala into a lighted shadow box, our next tutorial.
Troubleshooting
- Layers warp (paper): cardstock too light, or too much wet glue. Use heavier stock and dots, not lines.
- Design looks flat: spacers too thin. Go from 2 to 3 mm — the jump is dramatic.
- Top layer tears: the file is too intricate for your material. Scale the whole design up 20%, or cut the top layer from stronger paper.
- Wood layers misalign: add two tiny alignment holes to every layer in your software and pin through them while gluing.
Your first weekend plan
Saturday: pick a 5-layer file, cut all layers, dry-stack. Sunday: glue, frame, photograph it in daylight. Post it — layered mandalas are the most shareable thing you’ll ever cut.
Disclosure: some links above are affiliate links — if you buy through them we may earn a commission at no extra cost to you.
FAQ (schema-ready)
How many layers should a beginner mandala have? 4–6 layers. That’s enough for visible depth but forgiving to cut and align. Save 10+ layer designs for your third or fourth project.
Can I make a 3D layered mandala without a laser cutter? Yes — any cutting machine (Cricut, Silhouette) handles the paper/cardstock version. The same SVG files work for both; you just change material and spacer type.
What glue works best for layered paper art? Tacky glue applied in dots, or foam adhesive spacers. Avoid liquid school glue — it soaks cardstock and causes warping.
Can’t find the design you need?
Describe your idea in a few words and generate your own SVG design with AI.
Good to know: the files in this guide are hosted on Creative Fabrica. Downloading is free with their free trial: a payment card is needed to start it, and you can cancel the subscription at any time.