20+ 3D Layered SVG Ideas to Cut, Stack & Light Up (Free & Beginner-Friendly)
A flat cut looks fine on the wall. A layered one makes people lean in and touch it — because the depth is real, not printed. You cut the same design as several stacked outlines, glue them with tiny gaps between, and suddenly there are shadows, dimension, and (if you want) light coming through.
The best part: every idea below starts as one 3D layered SVG file. Below are 20+ of them, sorted so you can pick by mood — the quick weekend cut, the animal for the nursery, or the backlit showstopper for the mantel.
First, what “3D layered” actually means
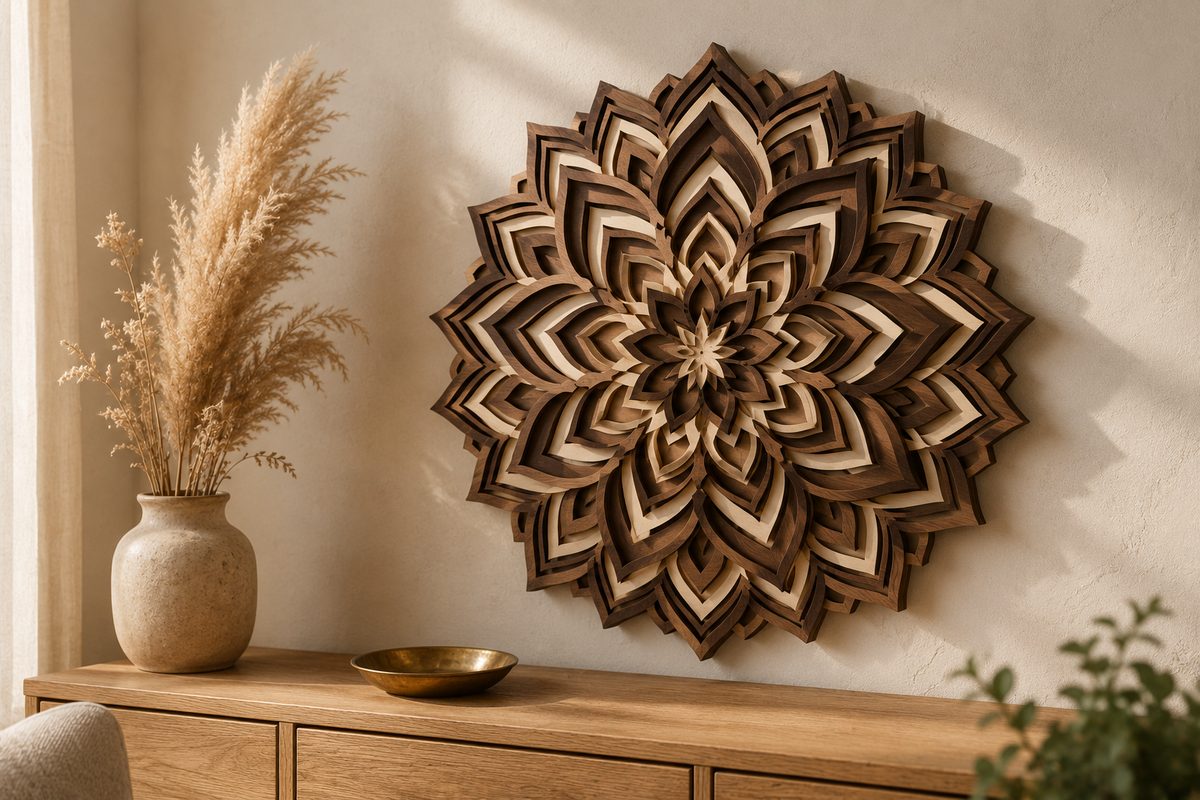
A 3D layered SVG is one design split into 3–8 separate outline files — one per layer. You cut each layer, then stack them with small spacers so the gaps cast real shadow. Add a light behind the back panel and those same gaps glow. That’s the whole trick, and it’s the same skill whether you cut wood on a laser or cardstock on a Cricut.
New to it? Start with our complete layered mandala guide — mandalas are the friendliest way to learn layer order before you tackle anything with a face or a light in it.
Mandalas & geometric (the friendliest place to start)
Mandalas are the gateway to layered work: symmetrical, forgiving, and stunning even at 3 layers.
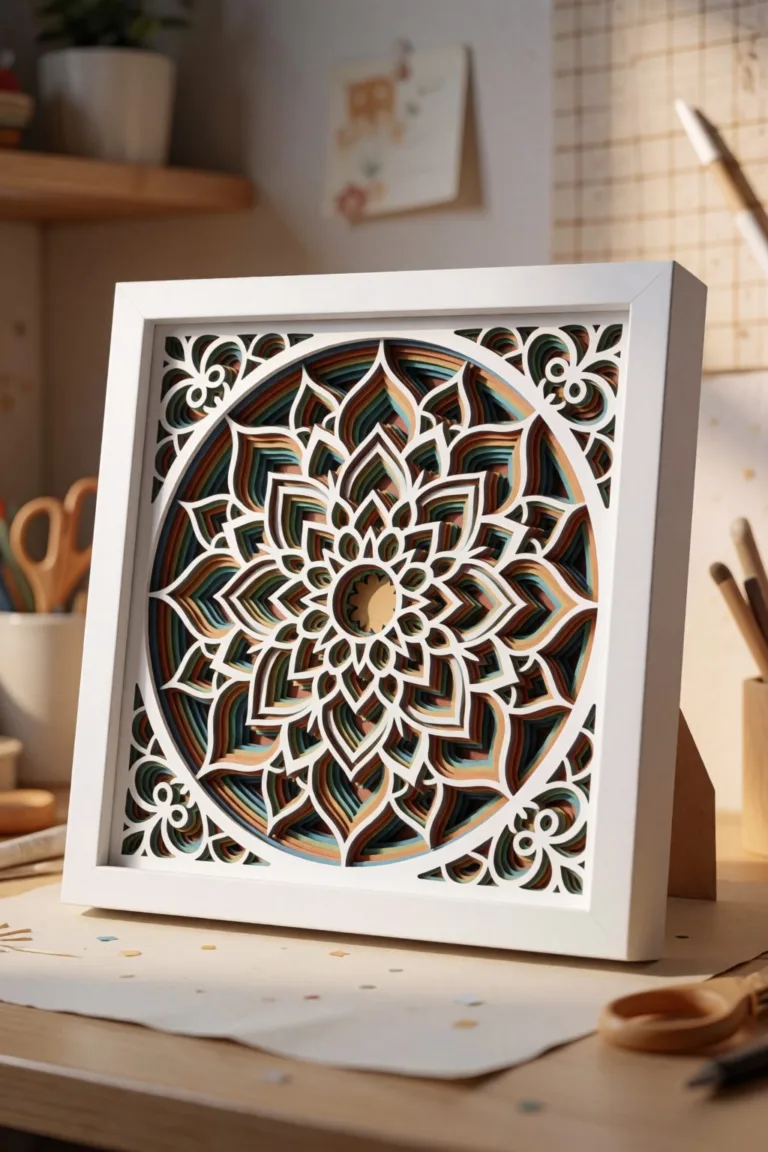
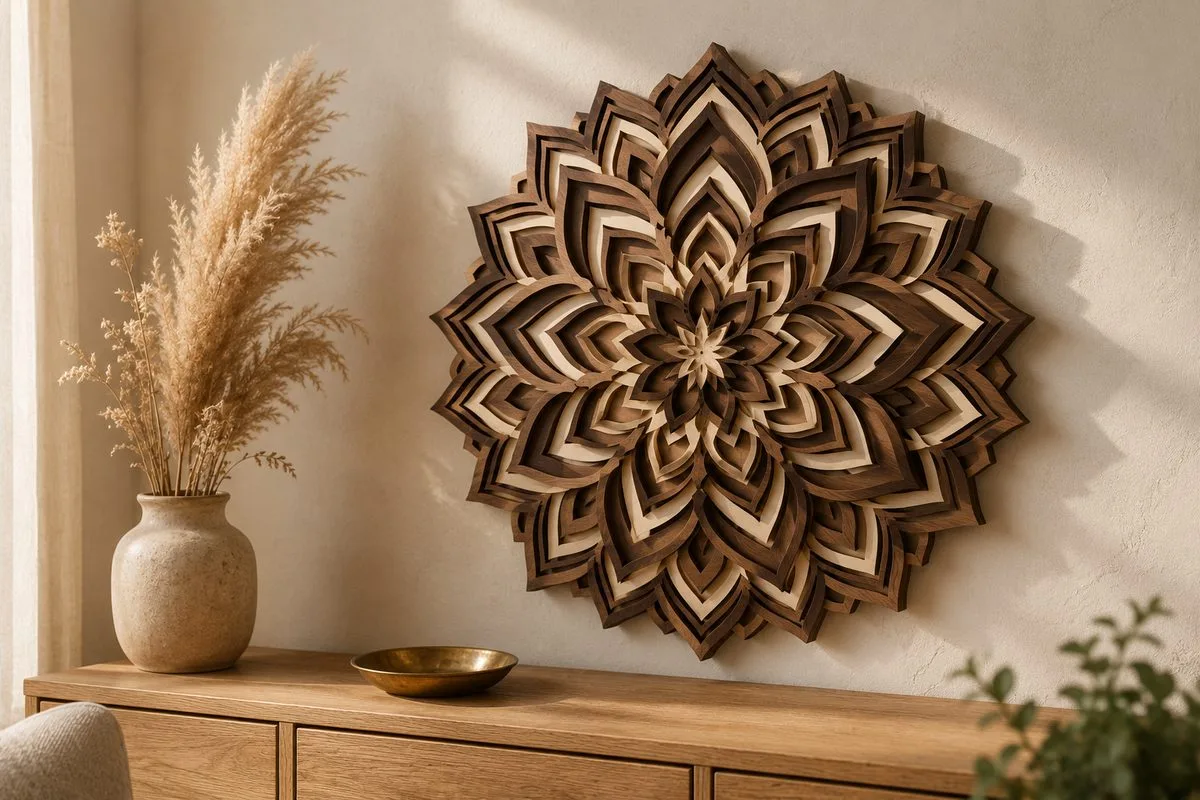
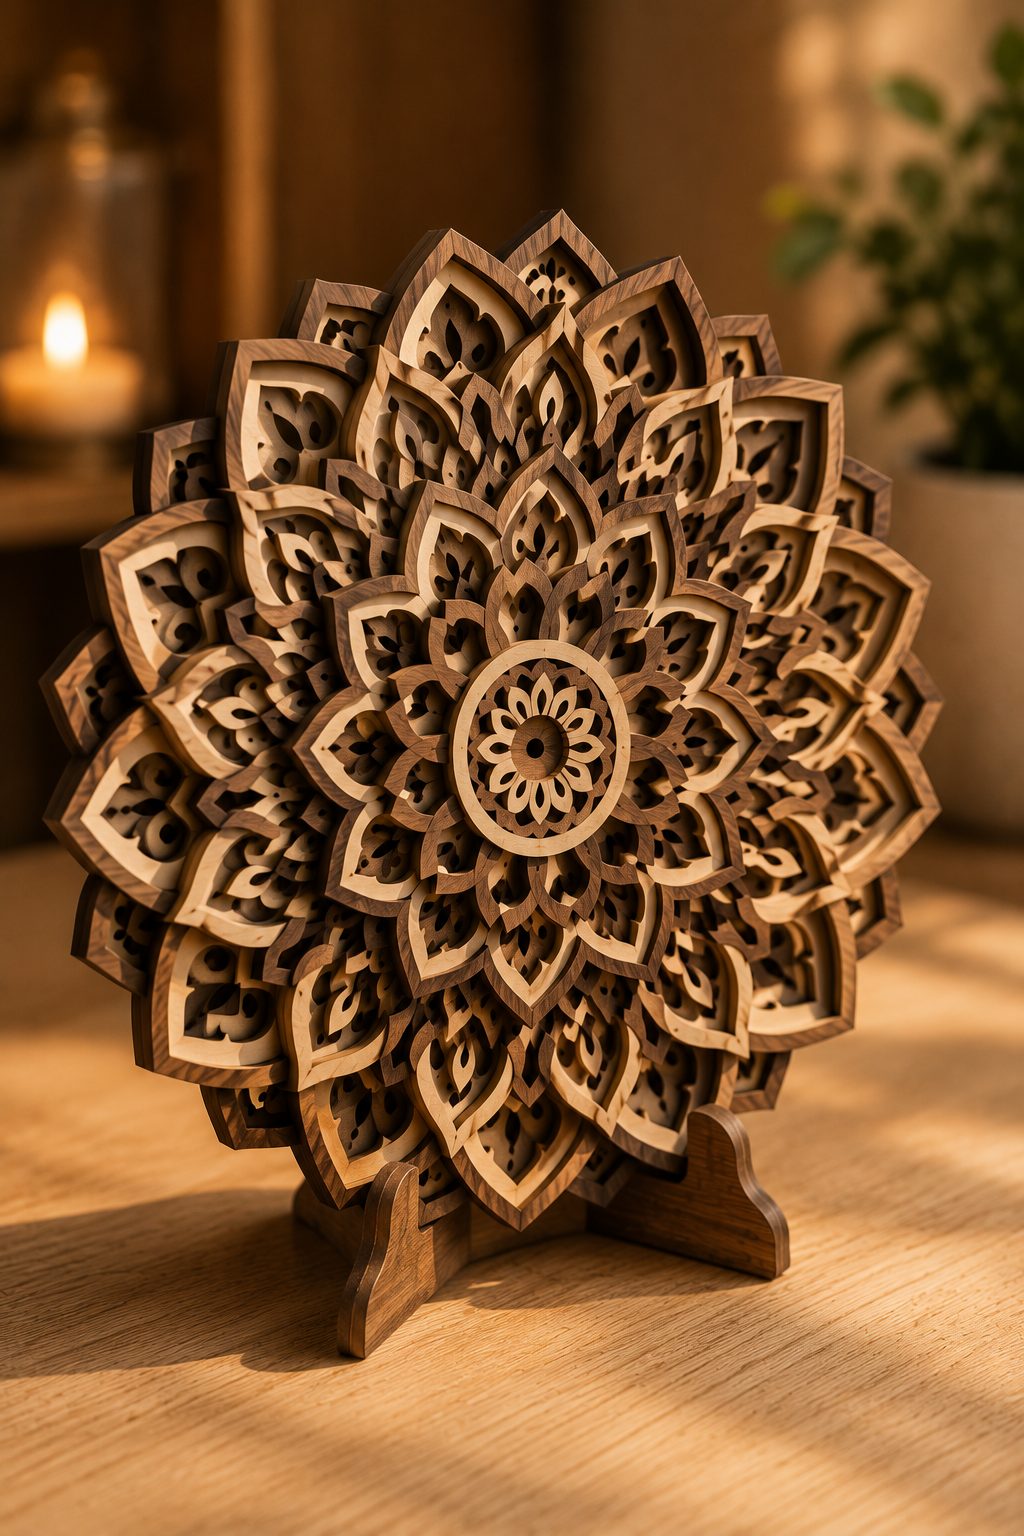
- Layered mandala wall art — the classic. Three to five rings stepped forward, in one wood tone or two. The piece in the photo above.
- Standing mandala on a base — the same design set upright on a little foot, so it works on a shelf or desk instead of the wall.
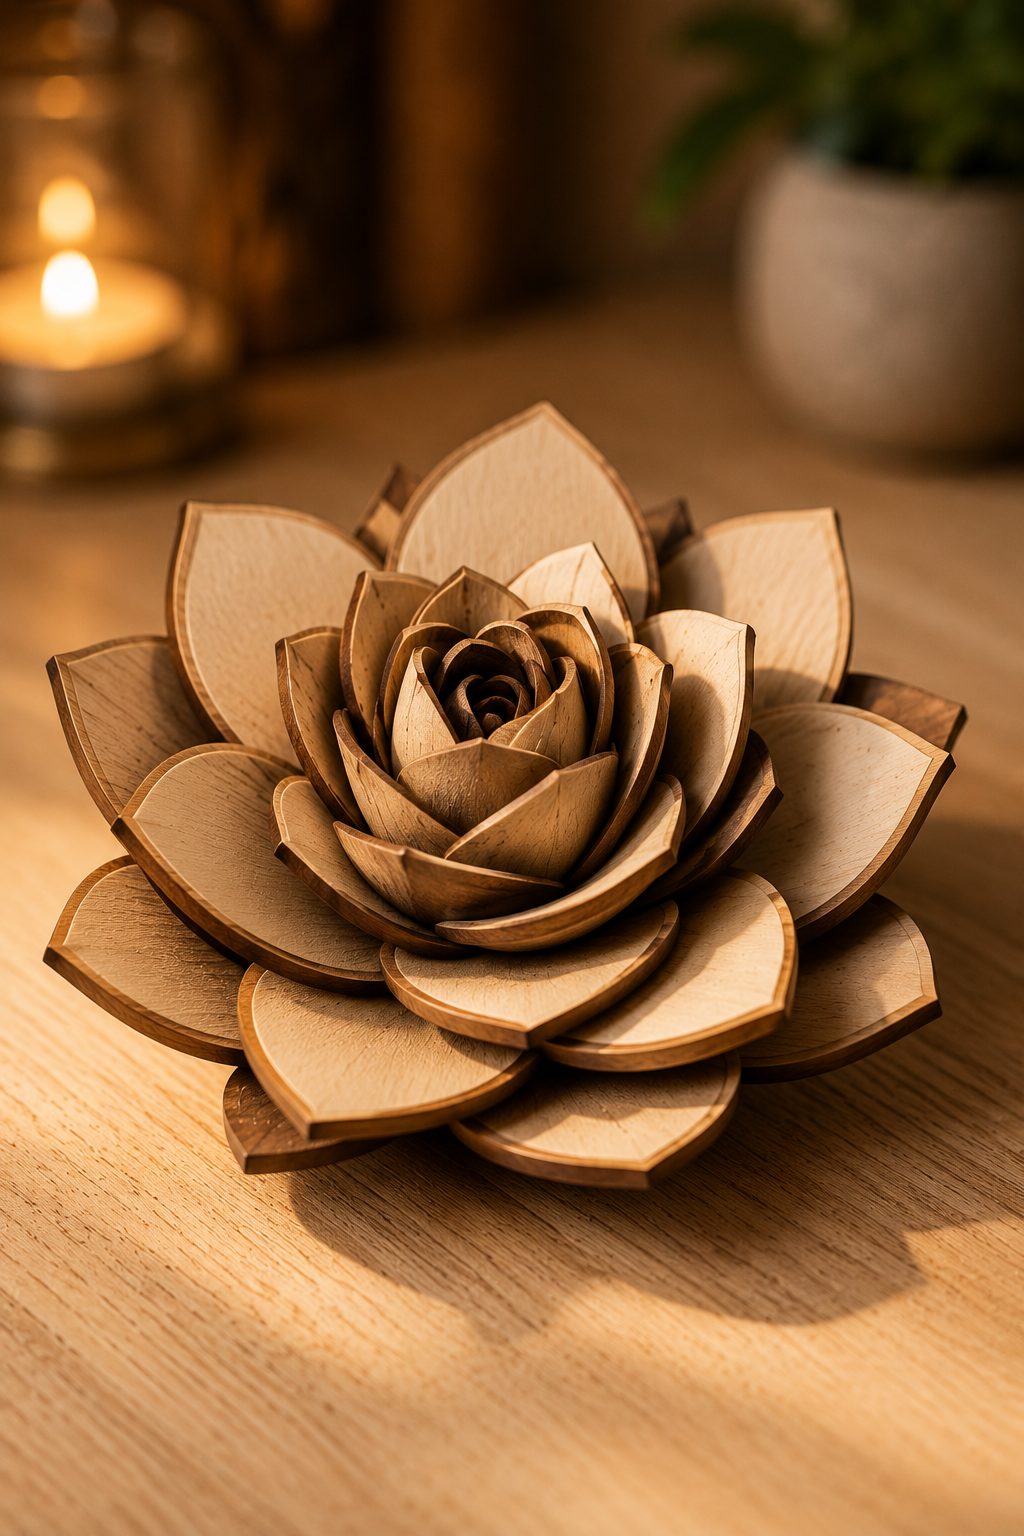
- Lotus or flower mandala — softer, more organic petals; reads beautifully in warm wood or ivory cardstock.
- Compass / starburst — sharper geometry, great for a masculine or nautical room.
- Backlit mandala — leave the back panel open and drop a warm LED behind it; the cutwork turns into rays of light.
- Mandala clock — a layered face with a cheap clock movement through the center. High perceived value, tiny material cost.
Layered animals (the pieces people ask you to make)
Animals are the top seller of the whole category — nurseries, cabins, pet lovers. Layers build the fur, feathers, and muzzle without any painting.
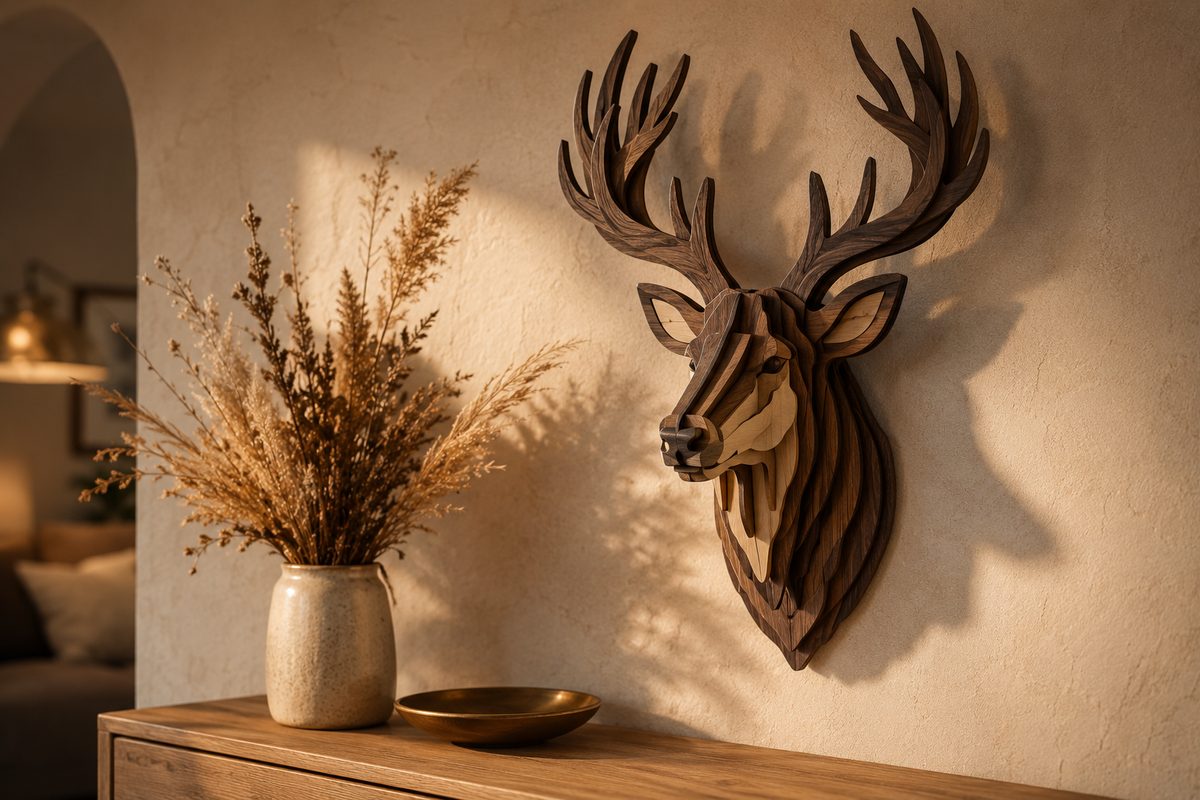
- Stag / deer head — antlers and layered face; a cabin and farmhouse favorite.
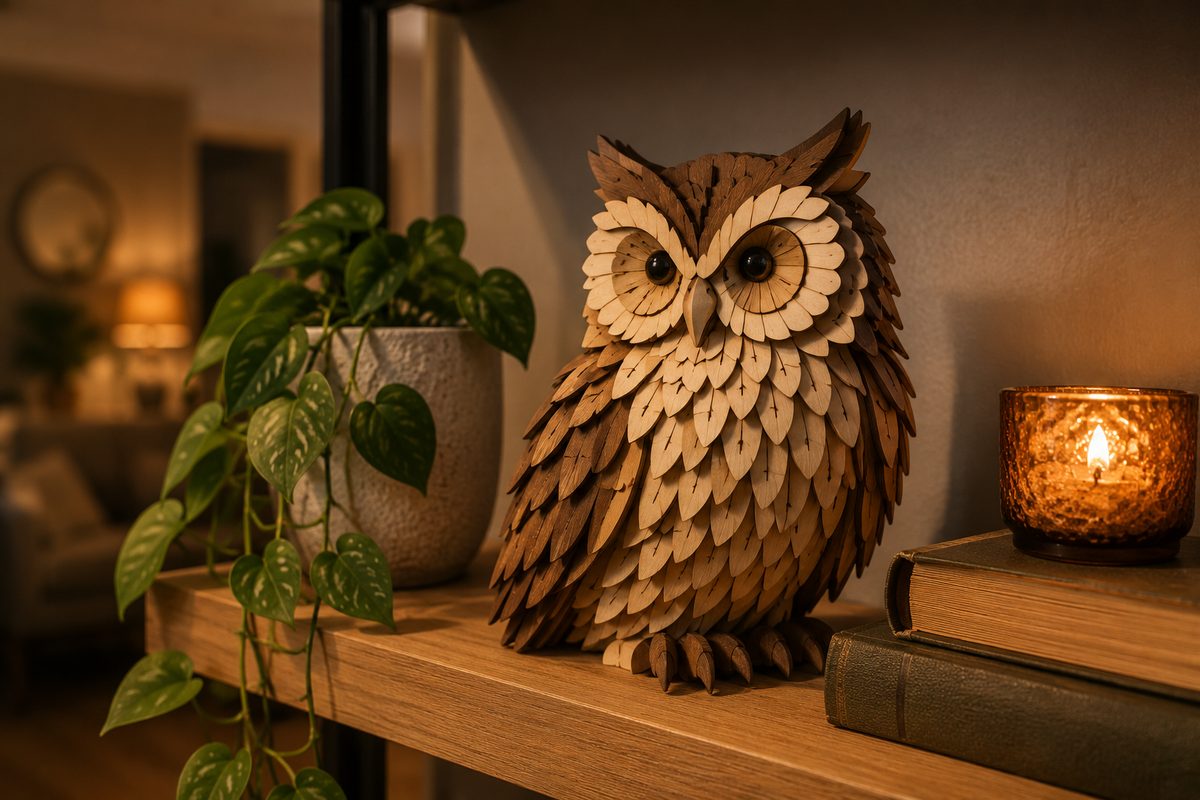
- Owl — rounded layers make the feathers, big eyes do the rest. Perfect for a kids’ room.
- Cat — a clean layered silhouette, endlessly giftable to the cat people in your life.
- Fox or woodland animal — warm russet tones, ideal for a woodland-theme nursery set.
- Butterfly or dragonfly — delicate layered wings; also gorgeous as a backlit piece.
- Custom pet portrait — a layered outline of someone’s actual dog or cat. This is the one people happily pay a premium for.
Nature & landscape scenes
Landscapes use overlapping layers to build real depth — foreground to horizon.
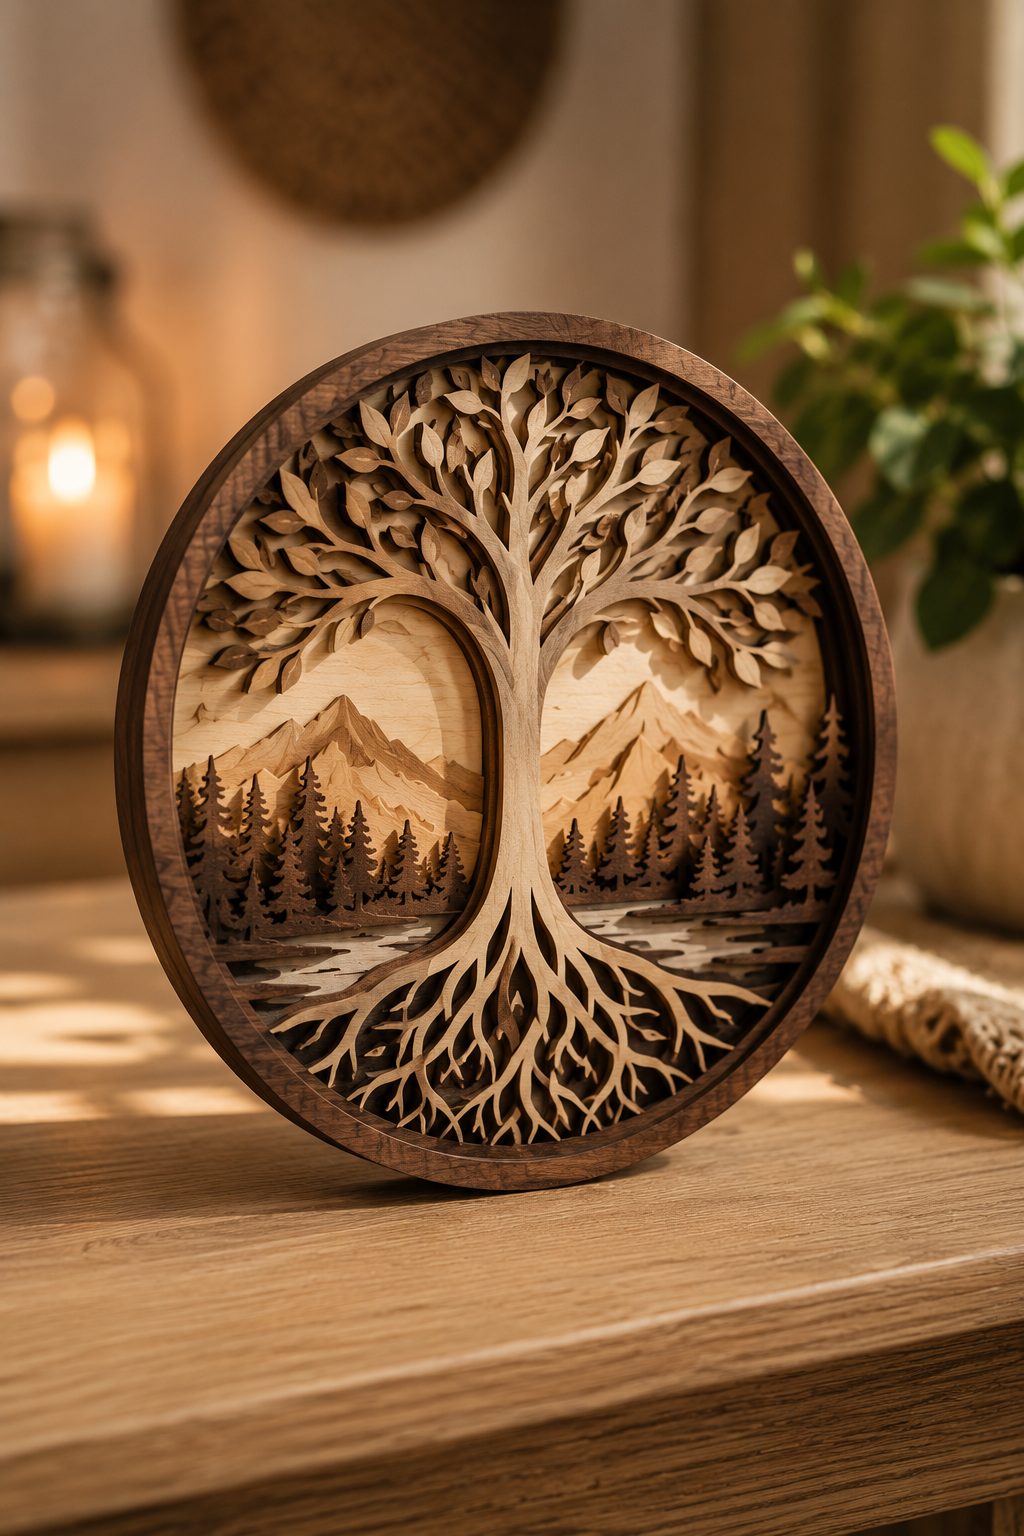
- Tree of life — branches and roots in stacked layers; one of the most-saved layered designs there is.
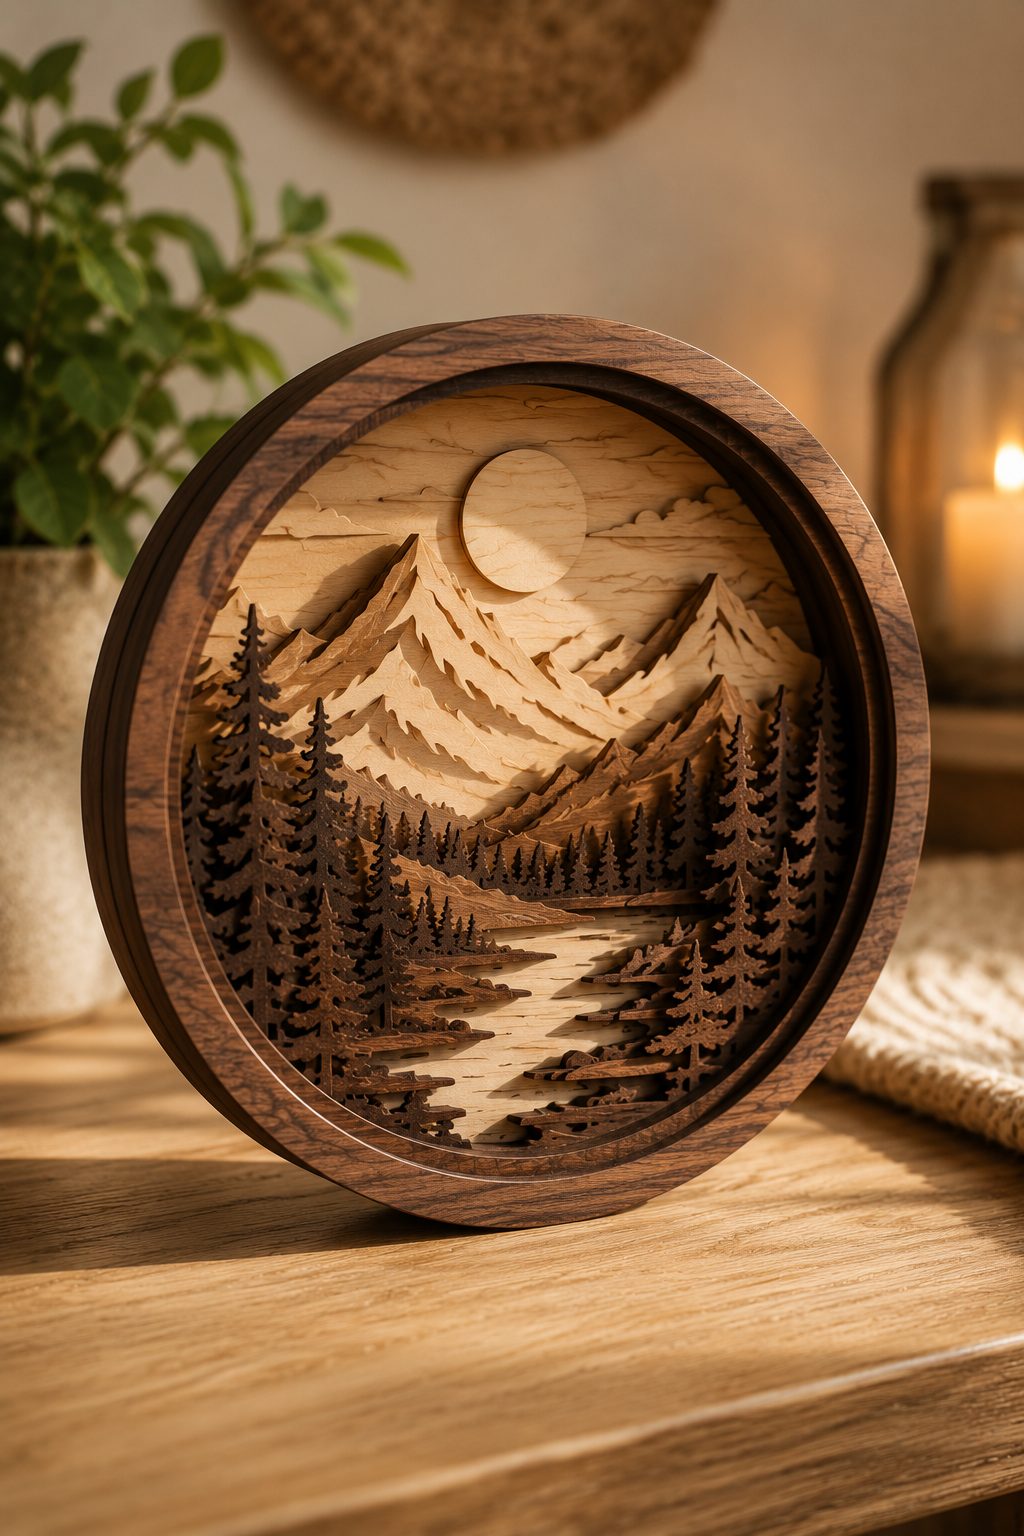
- Layered mountain scene — ridgelines stepped back into a disc or frame, often with a sun or moon behind.
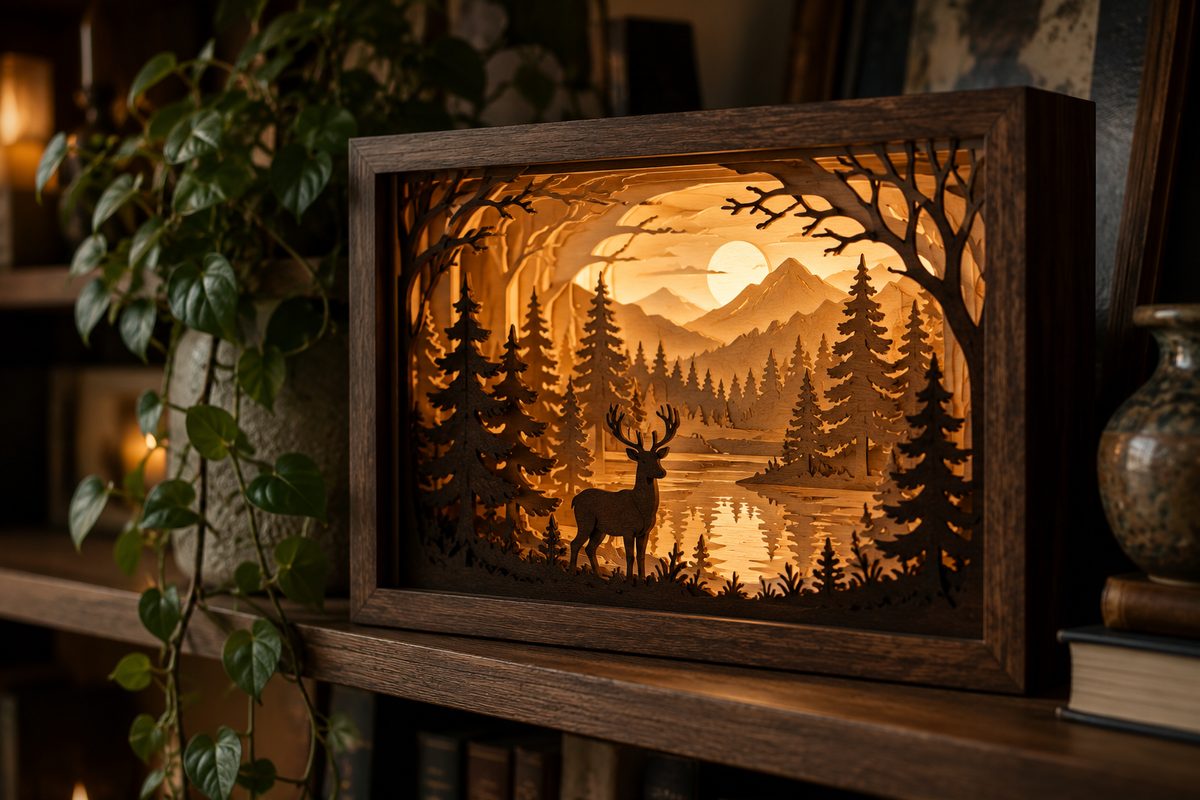
- Forest shadow box — trees and a deer receding into the frame, lit from behind for a glowing woodland at night.
- Ocean / wave art — cool blue layers, waves rolling toward a layered shore.
- Botanical panel — ferns, eucalyptus, or wildflowers layered for a soft, on-trend look.
Lit pieces & keepsakes (the showstoppers)
This is where layered work stops being decor and becomes a keepsake. Anything with an open back panel can glow.
- Lighted shadow box — the flagship of the whole category. Layers build a scene, a warm LED behind makes it glow. Full build in our lighted shadow box tutorial.
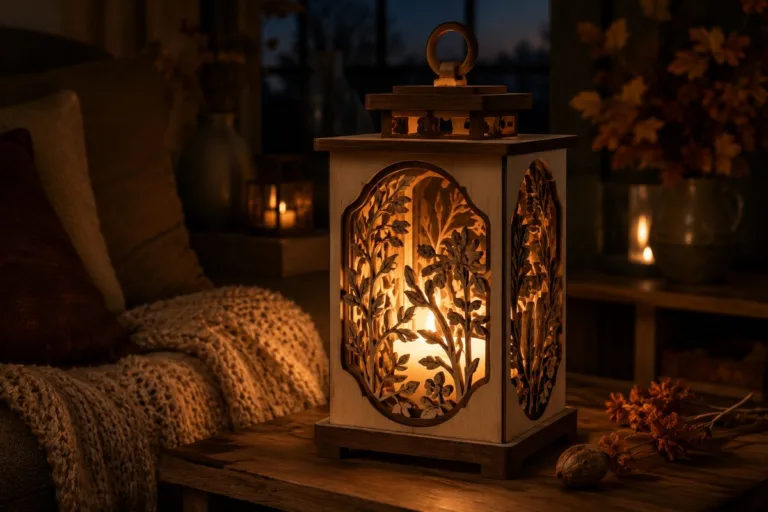
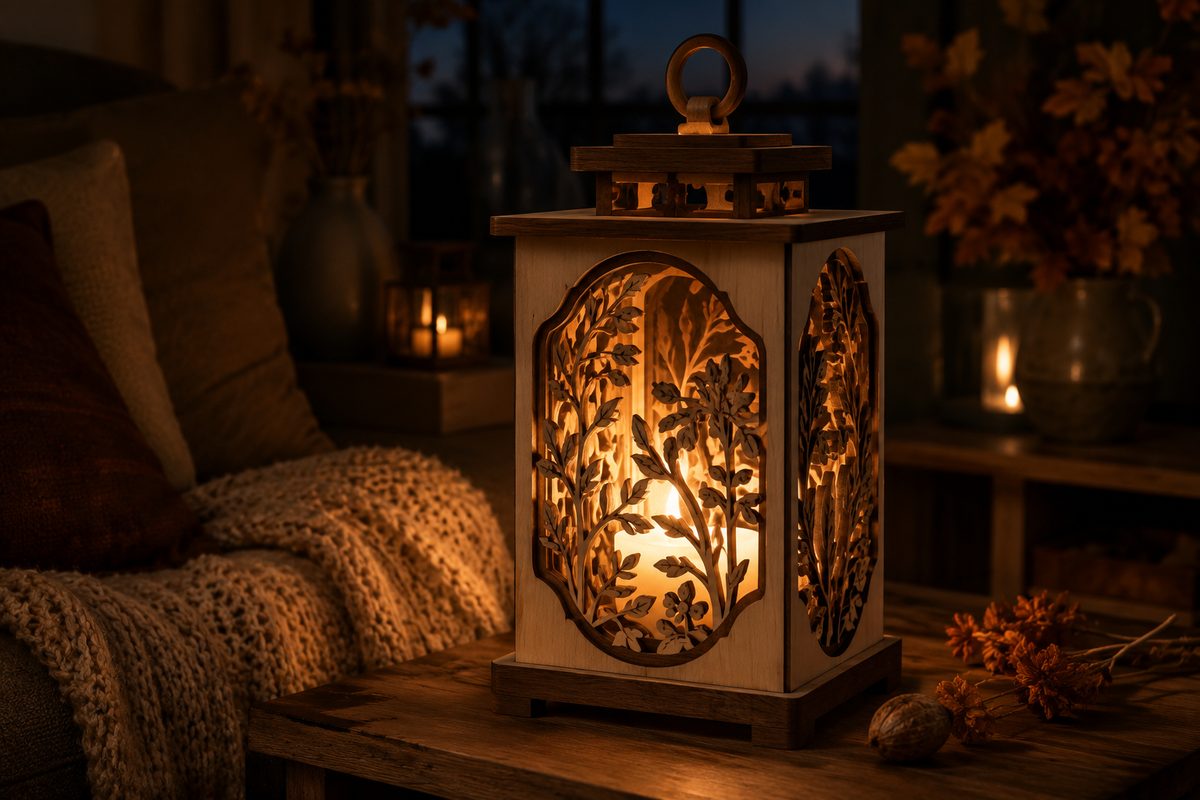
- Layered luminary / lantern — cutwork panels around a flameless candle throw patterns on the wall. See our luminary & candle holder ideas.
- Moon / celestial night light — a layered moon phase or starry sky as a soft bedside glow.
- Layered name sign or monogram — a script name lifted off a contrasting back layer; the go-to baby-shower and wedding gift.
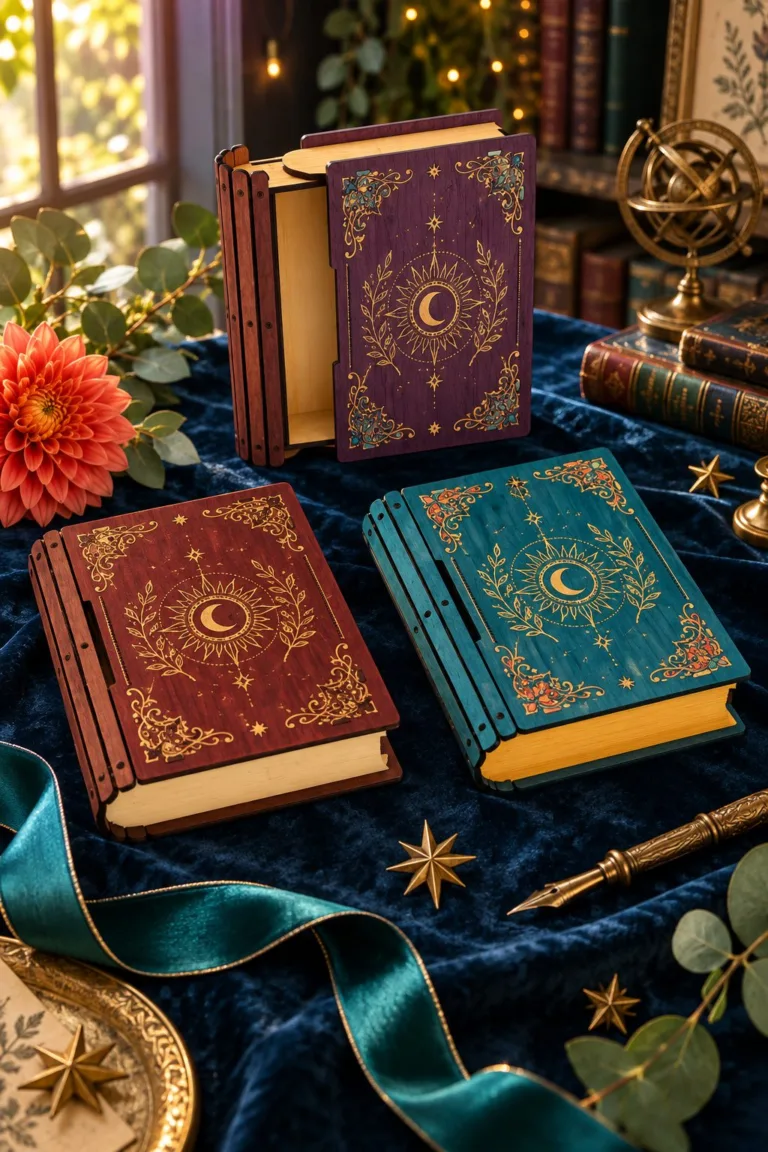
- Fretwork keepsake box — a small box with layered, pierced sides. Uses your offcuts and sells surprisingly well.
- Layered coasters — quick, cheap, and the easiest way to learn glue-up on a small scale.
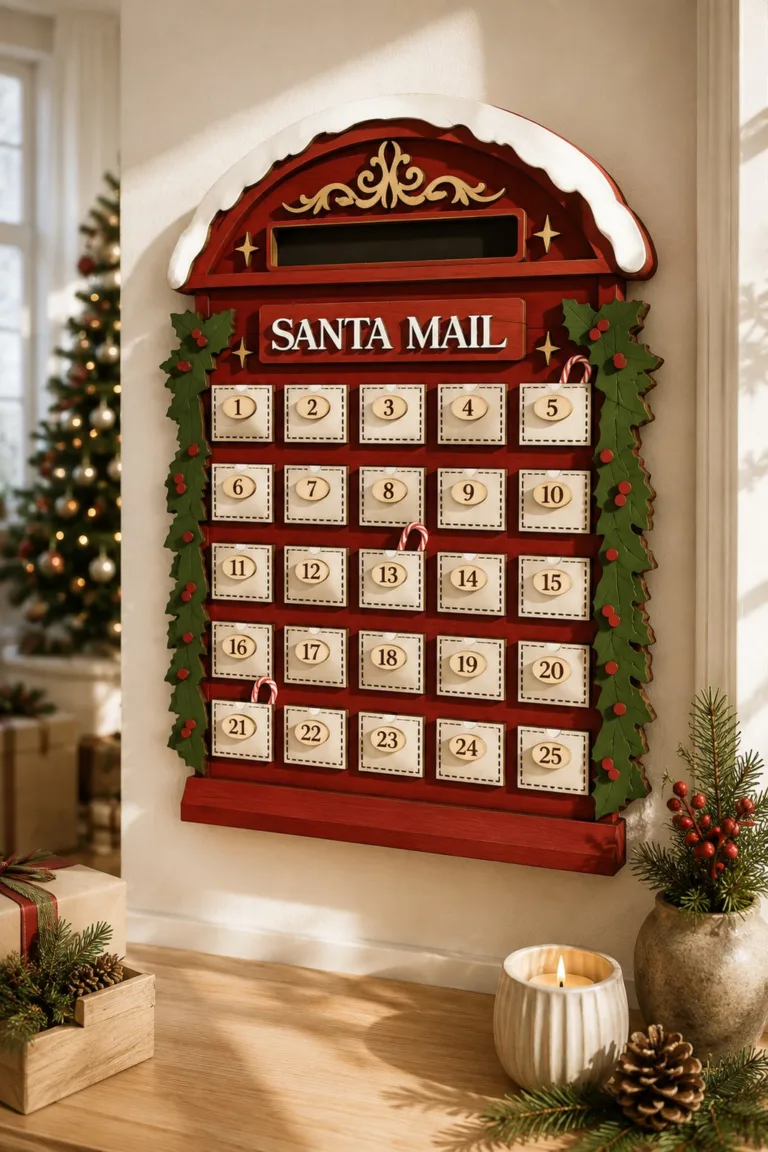
- Seasonal lit scenes — a 3D layered Christmas nativity, a Halloween haunted house, a pumpkin luminary — same technique, holiday costume.
How many layers should you start with?
- 1–2 layers — coasters, ornaments, a simple monogram. A weekend win that teaches your glue and settings.
- 3–5 layers — mandalas, animal heads, a standing tree. The sweet spot: real depth, still forgiving.
- 5+ layers or backlit — shadow boxes, nativity scenes, layered landscapes. Save these for once your settings are dialed in.
Materials
Wood version (laser):
- 3 mm plywood or basswood for back panels
- 1.5–3 mm for upper layers — thinner cuts finer detail
- Wood glue, plus a weight or small clamps
- Optional: stain back layers walnut and leave front layers light — that two-tone contrast is what makes the photos pop
Paper version (Cricut / Silhouette or any cutting machine):
- Cardstock 200–230 gsm — heavier warps less
- Foam spacers 2–3 mm or stacked glue dots for the gaps
- Tacky glue or a fine-tip glue pen (school glue soaks and wrinkles)
- A deep shadow-box frame for the lit scenes
For lit pieces: warm-white LED fairy lights or a flat puck light, and a back panel with a channel so the wire hides. Never a hot bulb against wood or paper.
Cutting and stacking without the headaches
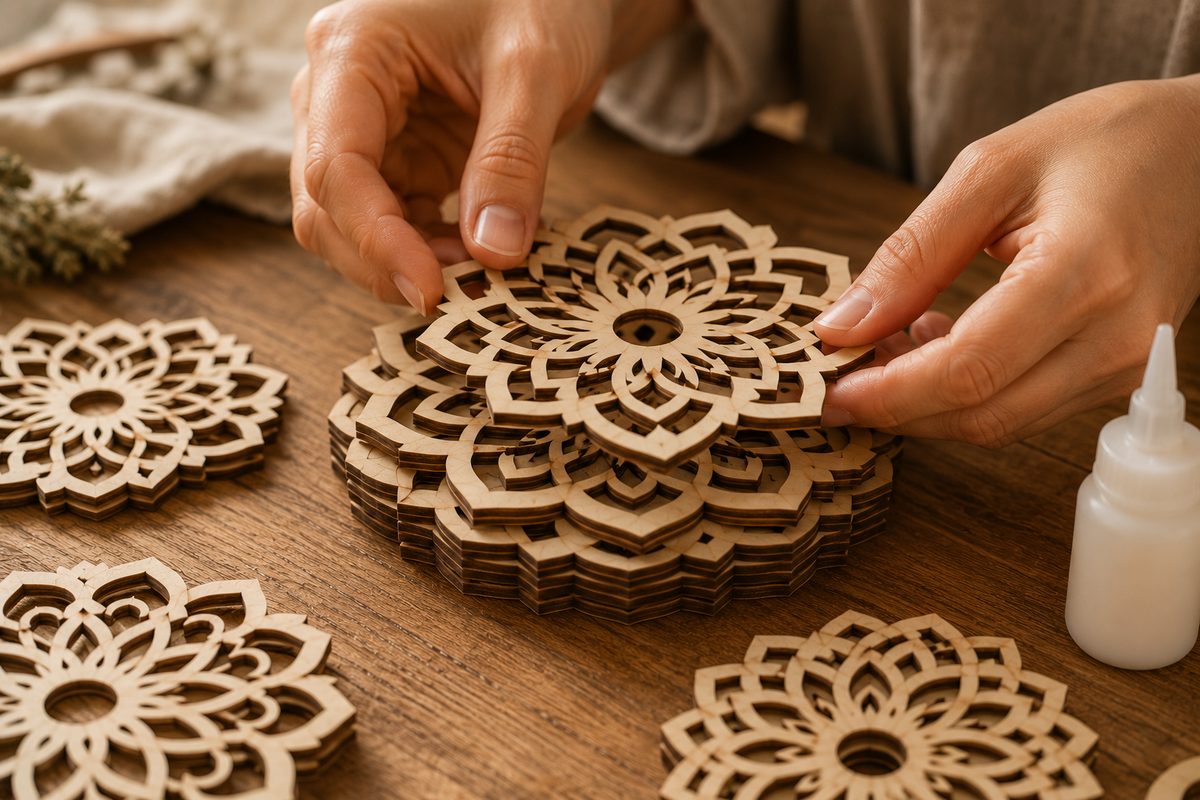
Every good layered file numbers its layers — layer 1 is usually the front (most detailed), the highest number is the back plate. Cut them all, then dry-stack in a row before any glue to check the order makes sense and nothing’s missing.
- On a laser: run a small test cut per new sheet. Thin bridges — the arms of a mandala, an antler tip — are the first thing to burn through. Drop power or bump speed before committing a full sheet.
- On a Cricut: heavier cardstock on the “intricate cardstock” setting with a fresh fine-point blade. Dull blades tear fine layers every time.
- Spacers go under solid areas, never under a cutout — or the spacer shows through the gap you wanted to glow.
- Glue up from the back forward, aligning on a corner or a registration mark so the stack doesn’t drift.
Where to get 3D layered SVG files
You want files that ship as separate SVGs per layer, with a preview of the stack order and a recommended size. Avoid single flattened “3D-look” images — those are printed, not layered, and won’t cut into real depth.
- Creative Fabrica has the deepest 3D layered catalog we’ve found — mandalas, animals, shadow boxes and more. The subscription includes unlimited downloads, so you can test several designs before committing to one. Grab a few from our free files first to learn what cuts cleanly on your machine.
If you’re cutting to sell, layered pieces sit near the top of what actually moves at markets — high perceived value, low material cost, and they photograph beautifully under warm light. Layered wall art also pairs naturally with plain laser cut wood wall art in a gallery wall.
Disclosure: some links above are affiliate links — if you buy through them we may earn a commission at no extra cost to you.
FAQ (schema-ready)
What is a 3D layered SVG? It’s one design split into several separate SVG outlines — one per layer. You cut each layer from wood or cardstock and stack them with small spacers, so the gaps create real shadow and depth. Many designs also work with a light behind them so the cutwork glows.
Do I need a laser cutter, or will a Cricut work? Both work. The same SVG files cut on a Cricut or Silhouette in cardstock, or on a laser in thin plywood. Wood gives you the backlit “lit-up” look; paper is faster and cheaper to start with.
How many layers should a beginner start with? Start with 1–2 layer coasters or a monogram, then move to a 3–5 layer mandala or animal head. Save multi-layer shadow boxes and lit scenes for once your cutting settings are dialed in.
What are the most popular 3D layered SVG designs? Mandalas, layered animal heads (deer, owl, cat), the tree of life, layered mountain scenes, and lit shadow boxes are the most-made and most-saved. Custom pet portraits are the best seller if you cut to order.
How do I make a layered piece light up? Leave an open back panel and place warm-white LED fairy lights or a flat puck light behind it, with about 1.5–2 cm of air before the first layer so the glow spreads evenly. Keep the light source cool to the touch — never a hot bulb against wood or paper.
Can’t find the design you need?
Describe your idea in a few words and generate your own SVG design with AI.
Good to know: the files in this guide are hosted on Creative Fabrica. Downloading is free with their free trial: a payment card is needed to start it, and you can cancel the subscription at any time.